
TL;DR:
- Creating a signature stamp streamlines repetitive tasks and ensures consistent branding or artistic marking.
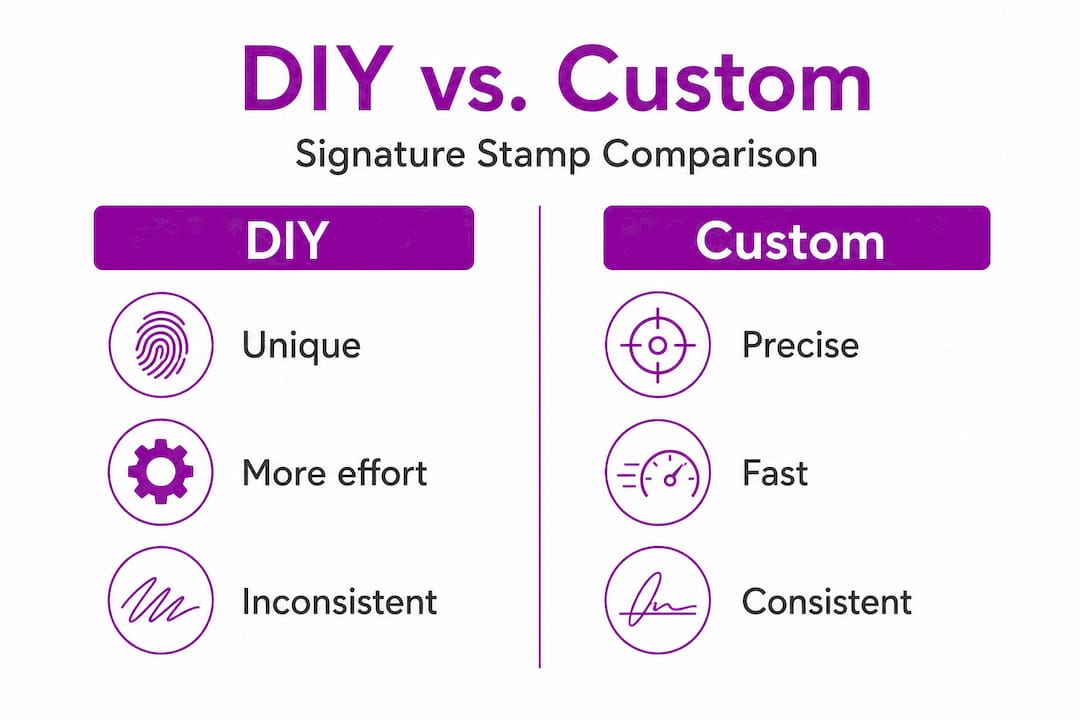
- Choosing between DIY and professional options depends on your desired precision, volume, and purpose.
Signing your name on fifty envelopes, stamping return addresses across a batch of parcels, or applying your logo to packaging by hand grows tedious very quickly. A personalised signature stamp cuts that repetition down to seconds, keeps your branding consistent, and adds a professional finish that a biro simply cannot match. Whether you are an artist wanting a custom mark on prints, a small business owner processing orders, or someone who just wants to stop scribbling their name on forms, this guide takes you through every stage of creating a signature stamp that actually works.
Table of Contents
- Understand your signature stamp needs
- Gather your tools and materials
- Create your stamp: step-by-step process
- Test, troubleshoot, and refine your stamp
- Why most people get signature stamps wrong — and what actually works
- Professional signature stamps: your shortcut to perfect results
- Frequently asked questions
Key Takeaways
| Point | Details |
|---|---|
| Clarity is crucial | A well-designed signature stamp enhances readability and professionalism. |
| Hand-carving requires skill | DIY methods are creative but need patience and careful technique to avoid errors. |
| Professional services for business | Ordering a custom stamp is best for consistent branding and frequent use. |
| Test before using widely | Always test your stamp to ensure the impression is clear and adjust as necessary. |
| Choose the right approach | Weigh uniqueness against uniformity to pick the best method for your needs. |
Understand your signature stamp needs
Before you pick up a carving tool or upload a design file, it pays to be clear about what the stamp will actually do. The intended purpose shapes every decision that follows, from the level of detail in the design to the materials you choose.
Signature stamps serve several distinct functions:
- Personal signing. Replacing a handwritten signature on routine correspondence, letters, or forms.
- Business branding. Applying a logo, business name, or sign-off to packaging, invoices, and marketing materials.
- Artistic marking. Signing limited-edition prints, handmade cards, or craft projects with a consistent mark.
- Organisational use. Labelling property, marking documents, or date-stamping paperwork in an office setting.
Each use case demands a different balance of precision and character. An artist’s chop mark can afford a slightly rough edge; a business logo cannot. Knowing your primary use determines whether a hand-carved result will satisfy you or whether a professional service is the better investment.
The types of signature stamps available range from simple text-only designs to fully custom logo impressions, and the range of personalised stamp uses is broader than most people initially realise.
DIY vs professional: choosing the right route
| Factor | DIY hand-carving | Professional custom stamp |
|---|---|---|
| Cost | Low upfront cost | Moderate to higher cost |
| Consistency | Variable, improves with practice | Precise and repeatable |
| Turnaround | Immediate | 1 to 5 business days typically |
| Best for | Art, low-volume personal projects | Business branding, frequent use |
| Detail level | Limited by carving skill | High detail achievable |
| Longevity | Dependent on material quality | Purpose-built for durability |
As noted in rubber stamp guidance for beginners, hand-carving suits artistic or low-volume personal projects but demands practice to avoid undercutting raised areas, while professional services are preferred for consistent branding in small businesses. That single insight should anchor your decision before you spend any money on materials.
Selecting your signature style matters too. A purely handwritten signature transferred to rubber gives a personal, warm feel. A clean digital signature or wordmark feels more corporate. Including a small logo or monogram alongside text adds versatility for branding purposes. Decide now, because changing direction mid-carve wastes both time and material.
Gather your tools and materials
Getting the right materials assembled before starting prevents the frustrating mid-project stop where you discover you are missing something critical.
Essential tools checklist
- Carving block. Soft rubber or vinyl erasers work for beginners; specialist carving blocks (such as Speedball Speedy-Carve or Staedtler Mars) give more control.
- Linocut or carving tool set. A basic set with interchangeable blades covers most needs. A V-shaped gouge removes background; a U-shaped gouge clears larger areas.
- Ink pad. Choose archival, acid-free ink for paper use or fabric ink if you plan to stamp on textiles. Pigment inks give sharper impressions than dye-based inks on absorbent surfaces.
- Tracing paper and a pencil. Used to transfer your design to the block in reverse.
- Ballpoint pen or burnishing tool. Helps transfer the pencil tracing onto the rubber surface.
- A firm cutting mat or wooden board. Protects your work surface and keeps the block stable.
Optional but useful items
- A lightbox or bright window for tracing complex designs.
- Low-tack masking tape to hold tracing paper steady.
- A fine-tipped permanent marker to define design outlines on the block.
- Wet wipes for cleaning the block between test prints.
Safety notes
Carving tools are sharp. Always carve away from your body and fingers. Keep your non-dominant hand behind the blade path. Work on a non-slip mat, and never rush the carving stage; the majority of injuries happen when people hurry.
| Material | Beginner-friendly? | Recommended brand (example) | Approximate cost (UK) |
|---|---|---|---|
| Vinyl eraser block | Yes | Staedtler Mars | £2 to £5 |
| Specialist carving block | Yes | Speedball Speedy-Carve | £6 to £12 |
| Lino sheet | Moderate | Essdee softcut | £4 to £8 |
| Carving tool set | Yes | Pfeil or generic craft kits | £8 to £20 |
| Archival ink pad | Yes | Versafine, Stazon | £7 to £15 |
Pro Tip: Buy one extra carving block to practise your design before committing to the final version. A test block costs very little but saves significant time when you identify a technique issue before ruining your main piece.
One practical perspective worth considering comes from a detailed home stamp-carving guide: DIY offers uniqueness but risks inconsistency, while custom orders ensure professionalism at cost, making them best for frequent signatures. Keep that trade-off in mind while you stock up your kit.
For additional context on what separates a workable stamp from a great one, the custom stamp tips resource covers detail, ink selection, and layout choices that apply equally to hand-made and ordered stamps.
Create your stamp: step-by-step process
With your materials ready, you can move through the creation process systematically. Rushing any stage produces a stamp you will not want to use.
- Prepare your design. Write or print your signature or logo at the exact size you want on the final stamp. If your design includes text, print it clearly; if it is a freehand signature, write it cleanly on plain paper.
- Reverse the design. Flip the image horizontally. You can do this digitally before printing, or by flipping the tracing paper over when transferring. This step is non-negotiable; forgetting it produces a mirrored impression.
- Transfer to the block. Place the reversed design face-down on the carving block. Rub firmly and evenly with a burnishing tool or the back of a spoon. The pencil or toner transfers to the rubber surface.
- Outline with a marker. Once the transfer is done, trace the design lines with a fine permanent marker directly on the block. This makes carving lines easier to follow and reduces errors.
- Carve the negative space. Use the V-gouge to carve along the edges of your design, then clear the background with the U-gouge. The goal is to leave the design raised above the surrounding surface.
- Clear deep areas. Remove all rubber that should not print. Any rubber left behind will pick up ink and print as an unintended mark.
- Test print. Press the block onto the ink pad, then press firmly onto paper. Check for unwanted marks, thin areas in the raised design, or unclear lines.
- Refine as needed. Use a sharp blade to correct any areas that are still printing incorrectly. Small adjustments at this stage make a significant difference.
Pro Tip: Hold the carved block up to a lamp at a low angle after carving. Shadows reveal remaining high spots that should be removed before testing.
The most important rule in carving is patience. One slow, deliberate cut is always better than two fast, rough ones. Your stamp will reflect exactly how much care you gave it.
Guidance on how to personalise stamp text is worth reviewing before you finalise your design, particularly if you are combining a signature with a name, job title, or tagline. For those using stamps primarily for business correspondence, the stamp layout for branding guide covers proportions, margins, and font considerations that keep the impression clean and legible.
As reinforced in the beginners’ rubber stamp resource, undercutting raised areas is the most common carving fault. When you carve too deeply at an angle toward the design, you weaken the base of the raised rubber, causing it to tear or collapse under pressure during stamping. Carve at a consistent, shallow angle and test frequently.

Test, troubleshoot, and refine your stamp
With the stamp created, it is time to make sure it works as intended. A stamp that looks good on the block does not always print as expected, and a structured testing process catches problems before they matter.
Testing on different surfaces
- Plain copy paper. This is your baseline. Press firmly and evenly, lift straight up without rocking.
- Cardstock. Tests ink absorption on denser material. Heavier inks work better here.
- Kraft paper or brown packaging paper. Especially relevant for small businesses stamping parcels.
- Glossy paper. Requires a pigment or solvent ink pad; standard dye ink will smear.
Test on each surface you genuinely intend to use. Ink that works beautifully on copy paper may bleed or fade on kraft packaging.
Common faults and corrections
- Patchy impression: Uneven pressure or insufficient ink. Re-ink the stamp and apply even pressure across the whole block.
- Ink bleeding beyond design edges: Too much ink on the pad or raised areas are too shallow. Clean excess ink and deepen the background carving.
- Missing detail in fine lines: Lines may be too thin to transfer adequate ink. Widen slightly with a fine carving tool.
- Smearing: Lifted the stamp at an angle. Practise pressing straight down and lifting straight up.
Comparing results honestly
| Quality factor | Hand-carved stamp | Custom-made stamp |
|---|---|---|
| Impression sharpness | Moderate, variable | High, consistent |
| Repeatability | Depends on inking technique | Consistent across thousands of uses |
| Fine detail | Limited | Achievable |
| Artistic character | High, unique | Standardised |
| Ideal volume | Occasional, low-volume use | Daily or high-volume use |
Pro Tip: Keep a printed test sheet for every version of your stamp. Date each impression so you can track improvement and identify when a stamp has worn out.
The insight from the home carving guide stands up to real-world testing: DIY uniqueness comes with real inconsistency risk, and for frequent signatures, a custom order simply performs more reliably. If your test prints are requiring more than two rounds of adjustment, consider whether a professional stamp would serve you better.
For businesses already using stamps as part of their visual identity, branding with custom logo stamps outlines how a stamp fits into a broader brand system, while advice on how to streamline stamp design is practical for anyone managing multiple stamp uses across a team or business.
Why most people get signature stamps wrong — and what actually works
The biggest mistake most people make is treating DIY stamp-making as a straightforward craft task and then being surprised when the result does not meet professional expectations. Hand-carving is genuinely satisfying and produces results with real character, but it is not a neutral replacement for a professionally made stamp in a business context.
The honest truth is that the choice between DIY and custom ordering is rarely about cost alone. It is about how much variation you can tolerate. An artist signing fifty prints will accept slight differences between impressions; it adds to the handmade quality. A business owner stamping two hundred order slips per week needs every impression to look identical, because inconsistency undermines the brand signal the stamp is supposed to reinforce.
There is also a time cost that people underestimate. The materials for a decent DIY stamp cost between £15 and £30. The time to design, transfer, carve, test, and refine might take three to six hours for someone new to the process. A professionally made custom stamp ordered online costs a comparable amount and arrives ready to use. For a personal project, that time is part of the enjoyment. For a business need, it rarely is.
The clearest guidance from practical experience, echoed in the rubber stamp beginner resource, is that professional services are preferred for consistent branding in small businesses. That is not a reason to avoid DIY; it is a reason to match your method to your actual purpose.
For anyone using stamps as part of a deliberate brand strategy, the branding with signature stamps guide addresses how to integrate stamp design into wider visual identity work, which is a step most small business owners skip entirely.
Professional signature stamps: your shortcut to perfect results
Making your own stamp is rewarding, but there are times when precision, speed, and repeatability matter more than the process itself.

At Stamp Design 4U, you can order fully custom signature stamps, logo stamps, and personalised designs built to your exact specifications. Upload your signature or artwork, choose your stamp size, and receive a professionally manufactured product that delivers consistent, clean impressions every time. Whether you need a single personal signing stamp or a set of branded stamps for your team, the ordering process is straightforward and the results are reliable. Visit stampdesign4u.co.uk to explore the full range and get started with a design that works from the very first impression.
Frequently asked questions
Is hand-carving a signature stamp suitable for business branding?
Hand-carving is best suited to low-volume or artistic projects; as noted in beginners’ stamp guidance, professional-made stamps are advised for business branding where consistency is essential.
What are the most common mistakes when carving your own stamp?
The two most frequent errors are forgetting to reverse the design before transferring and undercutting raised areas during carving, which weakens the impression surface.
How does a custom-ordered stamp compare to a handmade one?
Custom-ordered stamps are more consistent and precise, making them better for frequent or professional use; handmade stamps offer uniqueness but carry a genuine risk of inconsistency across impressions.
What surfaces can signature stamps be used on?
Most signature stamps perform well on standard paper and cardstock; with the correct ink pad, they can also be used on kraft packaging, select fabrics, and light card materials.