
Choosing the right branding tools can set your organisation apart in the busy British market. Small business owners and educators throughout the United Kingdom see custom stamps as an accessible way to reinforce identity and deliver consistent messaging on documents, promotional materials or teaching resources. From initial design to final quality checks, discovering how to harness the power of custom stamp artwork guidelines and reliable production ensures your stamp not only looks professional but works perfectly in everyday use.
Table of Contents
- Step 1: Assess Branding And Usage Needs
- Step 2: Design Your Custom Stamp Artwork
- Step 3: Select Stamp Material And Style
- Step 4: Order And Preview Stamp Proof
- Step 5: Verify Stamp Quality And Performance
- Step 6: Implement Proper Stamping Techniques
Quick Summary
| Key Point | Explanation |
|---|---|
| 1. Assess branding needs first | Evaluate your organisation’s identity and primary stamping purposes to inform your custom stamp design. |
| 2. Create effective stamp artwork | Prepare designs in black on white using vector files for clarity and professionalism in representation. |
| 3. Choose suitable materials and styles | Select stamp materials based on your usage frequency and aesthetic preferences to ensure durability and functionality. |
| 4. Review all specifications before ordering | Carefully verify dimensions, ink colour, and layout during the ordering process to ensure the final product meets expectations. |
| 5. Test stamp quality thoroughly | Inspect stamps across various surfaces and conditions to confirm consistent performance and high-quality impressions. |
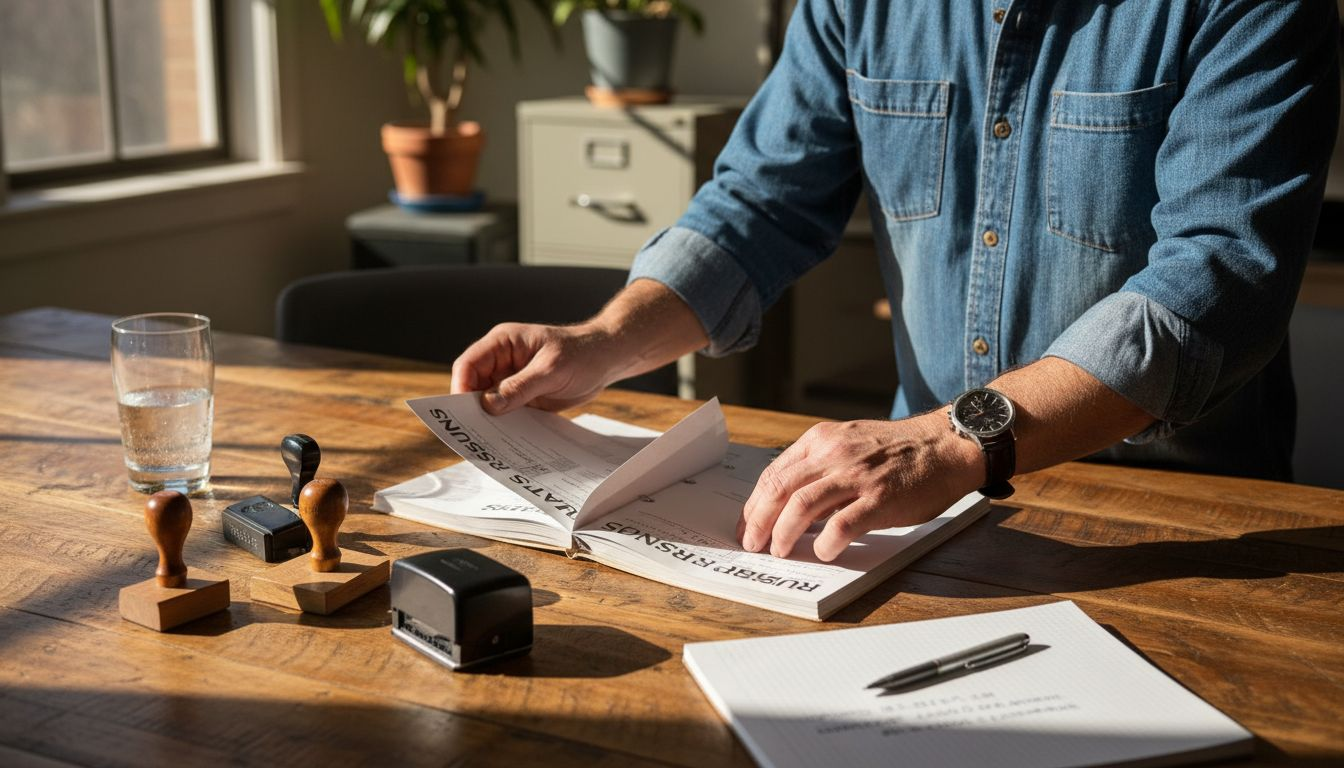
Step 1: Assess branding and usage needs
Custom stamps represent a powerful visual communication tool for small businesses and educators in the United Kingdom seeking distinctive branding solutions. Determining the right stamp requires a strategic approach that aligns your organisational identity with practical functionality.
Begin by evaluating your specific branding requirements through a comprehensive assessment. Effective branding strategies start with understanding your core messaging and visual identity. Consider the primary purposes for your stamp whether it involves invoicing documentation, educational marking, official correspondence or promotional materials. Examine the typical surfaces you will be stamping including paper types stationery materials or packaging requirements.
Carefully analyse the frequency of stamp usage the volume of impressions needed and the environments where the stamp will be deployed. Different business sectors will have unique stamp requirements professional services might need formal minimalist designs whereas educational institutions could prefer more vibrant and engaging stamp styles. The size template design colour and ink selection should directly correspond with your intended functional use.
Top Tip: Create a sample stamp prototype to test its readability effectiveness and aesthetic appeal before committing to a final design.
Step 2: Design your custom stamp artwork
Creating a compelling custom stamp design requires careful consideration of both artistic and functional elements. The artwork you develop will serve as a visual representation of your brand or organisation.
Begin by preparing your design with professional precision. Artwork preparation guidelines recommend submitting designs in black on a white background to ensure maximum clarity. Vector files such as Adobe Illustrator (AI) or Encapsulated PostScript (EPS) formats are ideal for achieving crisp detailed impressions. If you are working with hand drawn artwork consider digitising it to enhance reproduction quality.
When designing your stamp artwork focus on creating a clean professional image that communicates your core message effectively. Carefully consider the size and layout ensuring that all critical elements remain within the designated safe areas. This approach guarantees proper cutting and engraving during the stamp production process. Select fonts that are legible at small scales and use high contrast colours to maximise readability across different surfaces.
Top Tip: Request a digital proof of your stamp design to verify visual impact and functional performance before finalising the production.
Step 3: Select stamp material and style
Choosing the right stamp material and style is crucial for creating a professional and functional branding tool that meets your specific organisational requirements. Your selection will directly impact the stamp’s durability performance and visual appeal.
Explore the various stamp material options available by selecting the right rubber stamp for your business needs. Traditional rubber stamps offer excellent versatility and are suitable for most standard applications including document marking invoicing and administrative tasks. Consider materials like self inking stamps traditional hand stamps or pre inked stamps depending on your frequency of use and specific requirements.
Carefully evaluate the stamp style that best represents your brand identity and practical usage. Consider factors such as the surface you will be stamping wood paper fabric or specialised materials which will influence your material selection. Professional organisations might prefer sleek minimalist designs while creative businesses could opt for more vibrant and distinctive stamp styles. Pay attention to the mounting style handle configuration and ink pad compatibility to ensure seamless integration with your existing workflow.
Top Tip: Request material samples and test stamps on your most frequently used surfaces to validate performance and aesthetic compatibility before making a final decision.
To help select the right stamp style, see this summary of business sector preferences:
| Business Sector | Preferred Stamp Design | Colour Approach | Typical Size |
|---|---|---|---|
| Professional Services | Minimalist, formal | Black or blue only | Medium |
| Educational Institutions | Bold, engaging | Colourful options | Large |
| Retail & Hospitality | Distinctive, branded | Brand-specific tones | Customised sizes |
| Creative Studios | Artistic, elaborate | Multi-coloured ink | Variable |
Here’s a comparison of common stamp materials and their suitability for business use:
| Material Type | Durability | Typical Uses | Maintenance Needs |
|---|---|---|---|
| Traditional Rubber | High | Document marking, invoicing | Occasional cleaning |
| Self-inking | Moderate | Frequent office stamping | Regular ink refills |
| Pre-inked | Very High | High-volume, professional use | Replacement after heavy use |
| Polymer | Lower | Decorative or craft projects | Gentle handling required |
Step 4: Order and preview stamp proof
Placing an order for your custom stamp requires careful attention to detail to ensure the final product matches your exact specifications and branding requirements. This crucial stage transforms your design concept into a tangible professional tool.
Browse through available stock word stamps to understand the standard options before submitting your custom design. During the ordering process carefully review all specifications including stamp dimensions ink colour and mounting style. Request a digital proof that allows you to examine every element of the design before final production. Pay close attention to text alignment font size and overall visual presentation to guarantee the stamp represents your organisation precisely.
Communicate clearly with the stamp production team providing comprehensive details about your specific requirements. Verify all text spelling orientation and graphic elements during the preview stage. Most professional stamp services offer multiple preview opportunities allowing you to make incremental adjustments before committing to the final version. Consider requesting physical proof samples if digital previews do not provide sufficient confidence in the final product.
Top Tip: Maintain a high resolution digital copy of your approved stamp design for future reference and potential reordering.
Step 5: Verify stamp quality and performance
Ensuring the reliability and consistency of your custom stamp requires a systematic approach to quality verification. This critical stage validates that your stamp meets professional standards and delivers the precise results your organisation needs.
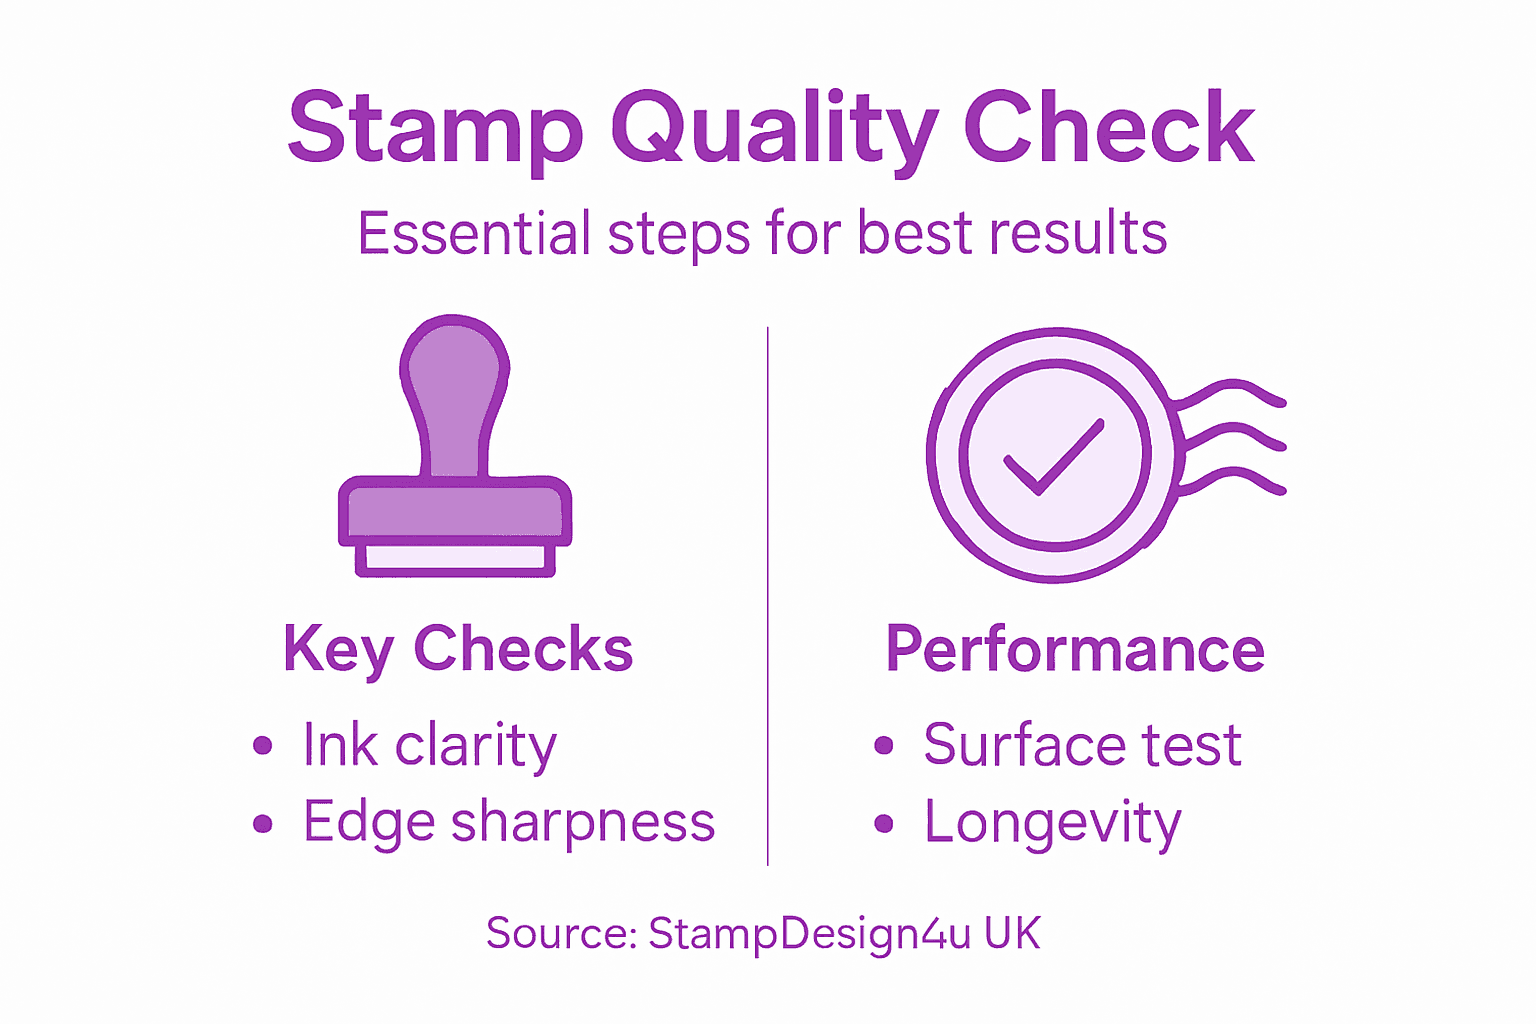
Understand the essential quality control techniques that professional manufacturers implement. Thoroughly inspect your stamp across multiple dimensions including ink distribution clarity of impression consistency of marking and overall durability. Test the stamp on various paper types and surfaces to confirm its performance under different conditions. Examine the stamp under good lighting checking for crisp text edges uniform ink coverage and precise alignment of graphic elements.
Pay attention to subtle details that indicate superior stamp quality. Evaluate the stamp’s mechanical functionality including handle tension ink pad responsiveness and overall ergonomic design. Make multiple test impressions to verify consistent performance across repeated uses. Consider factors like ink colour retention stamp material resilience and the ability to produce clean legible marks across different document types and surfaces.
Top Tip: Create a standardised testing protocol with multiple surface and ink type trials to comprehensively assess your stamp performance before final deployment.
Step 6: Implement proper stamping techniques
Mastering the art of precise stamping requires understanding the nuanced techniques that ensure clean professional impressions every single time. Your stamping approach will directly impact the clarity and consistency of your organisational documentation.
Learn how to design artistic stamps that translate effectively into practical applications. When applying your stamp maintain consistent pressure using a smooth even motion across the surface. Position your document on a flat stable surface to prevent misalignment and ensure the entire stamp area makes complete contact. Hold the stamp perpendicular to the paper avoiding any angled impressions that might distort your graphic or text elements.
Examine your stamping surface carefully before each use checking for dust debris or uneven areas that could compromise impression quality. Practice your technique on scrap paper first to develop muscle memory and understand the precise amount of pressure required. Different surfaces such as glossy paper standard office documents or textured materials will require subtle adjustments in your stamping approach. Pay attention to ink distribution maintaining a clean pad and replacing ink cartridges or re inking pads promptly to sustain optimal performance.
Top Tip: Keep a clean lint free cloth nearby to gently wipe your stamp after each use preventing ink build up and maintaining crisp impressions.
Elevate Your Brand with Perfectly Crafted Custom Stamps
Navigating the detailed process of creating custom stamps can feel overwhelming with the need to balance design clarity, material choice, and consistent quality. This guide helps you tackle challenges like selecting the right stamp material, ensuring precise artwork layout, and mastering stamping techniques that reflect your organisation’s identity with professionalism. If you want to avoid common pitfalls such as poor ink distribution or ill-fitting designs, embracing a trusted partner for your custom stamp needs is essential.
At StampDesign4u, we simplify your custom stamp journey. From choosing the ideal rubber stamp style to refining your artwork and previewing your design proof, we support you every step of the way. Our platform offers tailored solutions that respect your unique branding goals and practical requirements — perfect for small businesses or educators who deserve a stamp that truly makes a statement.

Discover how effortless it is to create a professional, durable stamp that fits your exact needs. Visit StampDesign4u today to explore expert customisation options. Start designing now and experience quality that leaves a mark—make your ordering smooth, fast and precise by taking advantage of our personalised service and digital proofing. Your perfect stamp is just a few clicks away.
Frequently Asked Questions
How do I assess my branding and usage needs for custom stamps?
Evaluating your branding and usage needs begins with identifying your core messaging and the intended purpose of your stamp. Consider creating a sample stamp prototype to test its effectiveness in readability and design before finalising your choice.
What is the best way to design custom stamp artwork?
To design effective custom stamp artwork, prepare your design in black on a white background and use vector files for clarity. Request a digital proof of your design to ensure it meets your visual and functional requirements before production.
How do I select the right stamp material and style for my business?
Choosing the right stamp material and style involves considering the surfaces you will be stamping and how frequently you will use the stamp. Test material samples on different surfaces to validate performance and ensure aesthetic compatibility before making a final decision.
What steps should I take when ordering and previewing my custom stamp?
When placing an order, carefully review all details like dimensions and ink colour while requesting a digital proof for evaluation. Verify all text and design elements during the preview stage and consider requesting physical proof samples for additional confidence.
How can I verify the quality and performance of my custom stamp?
To ensure the quality and performance of your custom stamp, inspect it for ink distribution and clarity of impression by testing it on various paper types. Conduct multiple test impressions to check for consistency, focusing on details like text alignment and ink coverage.
What are some proper stamping techniques to achieve clean impressions?
For clean impressions, maintain even pressure while stamping and ensure the document is flat and stable. Practice on scrap paper to refine your technique, and use a clean lint-free cloth to wipe your stamp after use to prevent ink build-up.