
A surprising number of British small business owners find themselves lost when trying to design a custom rubber stamp that truly fits their brand. For those with limited design experience, the process can feel more confusing than creative, yet a well-made stamp can help build trust and recognition with every impression. This guide breaks down each stage into clear, practical steps so you can confidently create a personalised stamp that reflects your unique business identity and keeps your workflow efficient.
Table of Contents
- Step 1: Define Your Stamp Branding Requirements
- Step 2: Select and Prepare Suitable Design Assets
- Step 3: Create and Customise Your Stamp Artwork
- Step 4: Review and Refine Your Stamp Design
- Step 5: Verify and Finalise Your Stamp for Production
Quick Summary
| Key Point | Explanation |
|---|---|
| 1. Define Your Branding Elements | Gather your logo, colour palette, fonts, and motifs to ensure accurate brand representation on your stamp. |
| 2. Select High-Quality Design Assets | Use high-contrast images and vector graphics to ensure clarity and proper reproduction during stamp production. |
| 3. Test and Refine Designs | Conduct multiple test impressions to identify areas for improvement regarding design clarity and functional performance. |
| 4. Verify Quality Before Production | Perform rigorous checks on design aspects like clarity and dimensional accuracy to ensure high-quality final stamps. |
| 5. Create Scalable Artwork Versions | Develop multiple designs at different scales to assess which elements remain recognisable when miniaturised for stamping. |
Step 1: Define your stamp branding requirements
Defining your stamp branding requirements is the foundational stage that transforms a basic rubber stamp into a powerful marketing tool. This crucial first step ensures your custom stamp will precisely communicate your business identity and professional branding guidelines.
Start by gathering key visual elements that represent your brand authentically. Collect your company logo, primary colour palette, preferred fonts and any specific design motifs that are uniquely associated with your business. Consider how these elements will translate onto a compact stamp surface while maintaining clarity and recognisability. Think about the practical dimensions and intended usage environment your stamp will occupy whether that is office correspondence, product packaging or marketing collateral.
Your design should balance aesthetic appeal with functional readability. This means selecting graphics and text that remain legible when reproduced at stamp size and can withstand repeated impressions. Pay careful attention to line thickness resolution and how intricate details might appear when transferred onto different surface materials.
Top Tip: Always test a digital proof or sample stamp prototype before committing to a full production run to ensure your branding elements translate perfectly.
Here is a summary of key factors for successful stamp design:
| Aspect | Importance | Impact on Branding |
|---|---|---|
| Line Thickness | Ensures design clarity | Protects details at scale |
| Colour Contrast | Improves visibility | Reinforces brand image |
| Font Selection | Maintains legibility | Communicates professionalism |
| Material Compatibility | Prevents smudging | Consistent impressions |
Step 2: Select and prepare suitable design assets
Selecting and preparing the right design assets is critical to creating a professional and effective custom stamp. Your goal is to transform your brand identity into a compact graphic that communicates clearly and reproduces consistently across multiple surfaces.
Start by examining your source artwork through the lens of stamp production requirements. You will need high contrast images with stamp production workflow optimisation techniques that ensure clean lines and sharp details. Convert vector graphics or high resolution digital files into formats compatible with stamp engraving technologies. Thick lines are essential when designing stamp artwork, as thin lines may not transfer cleanly or could potentially break during repeated stamp impressions.
Prepare your design by focusing on simplicity and legibility. Remove unnecessary background elements, ensure text remains readable at small sizes, and select fonts that maintain clarity when scaled down. Digital design software can help you adjust line weights, remove intricate details, and preview how your stamp will appear when reproduced.
Top Tip: Always create a high contrast black and white version of your design to test its stamp reproducibility before final production.
Step 3: Create and customise your stamp artwork
Transforming your brand concept into a precise stamp design requires careful attention to technical and creative details. Your artwork will serve as the critical visual representation of your business identity across multiple print applications.
Begin by preparing your digital files using professional artwork guidelines that ensure optimal stamp reproduction. Professional stamp designers recommend using vector formats like AI or EPS which preserve graphic integrity during scaling. Focus on creating high contrast designs with clean graphic lines that will translate effectively when engraved or stamped. Remember that your final artwork will typically be reversed to appear correctly when impressed onto surfaces.
Review this comparison of stamp artwork file types for final production:
| File Type | Pros | Cons | Best Use Case |
|---|---|---|---|
| AI/EPS | Scalable, high fidelity | Specialist software needed | Professional design output |
| PNG | Widely supported, simple | May lose clarity when scaled | Quick previews |
| Preserves formatting | Can be heavy for editing | Approved proofs |
Pay close attention to graphic complexity and readability. Minimise intricate details that might become muddled during stamp production. Select bold typography, simple geometric shapes, and graphic elements that maintain clarity at small sizes. Consider how your logo or text will appear when reduced to stamp dimensions and test multiple iterations to find the most effective visual communication.
Top Tip: Create multiple artwork versions at different scales to determine which graphic elements remain most legible when miniaturised for stamping.
Step 4: Review and refine your stamp design
Perfecting your stamp design requires methodical testing and strategic refinement to ensure professional quality and consistent performance. This critical stage transforms your initial concept into a precise branding tool that represents your business with clarity and impact.
Implement comprehensive stamping evaluation techniques by conducting multiple test impressions on different surface materials. Examine each proof carefully, looking for details such as ink coverage, line definition, and overall visual clarity. Pay particular attention to how your design translates at different scales and with varying ink types. Some graphic elements that appear crisp on screen might become muddled when actually stamped, so multiple iterations are key to achieving optimal results.
Approach your refinement process systematically. Create a series of test stamps using scrap materials to assess performance characteristics. Adjust line weights, simplify complex elements, and experiment with different ink pad types to determine the most effective combination. Your goal is to develop a stamp design that maintains visual integrity across multiple impressions and surface types.
Top Tip: Maintain a detailed log of each test impression, documenting specific adjustments and their impact to track your design evolution precisely.
Step 5: Verify and finalise your stamp for production
The final stage of your stamp design journey involves rigorous verification to ensure your custom stamp meets professional standards and represents your brand with precision. This critical phase transforms your design from concept to a production-ready branding tool.
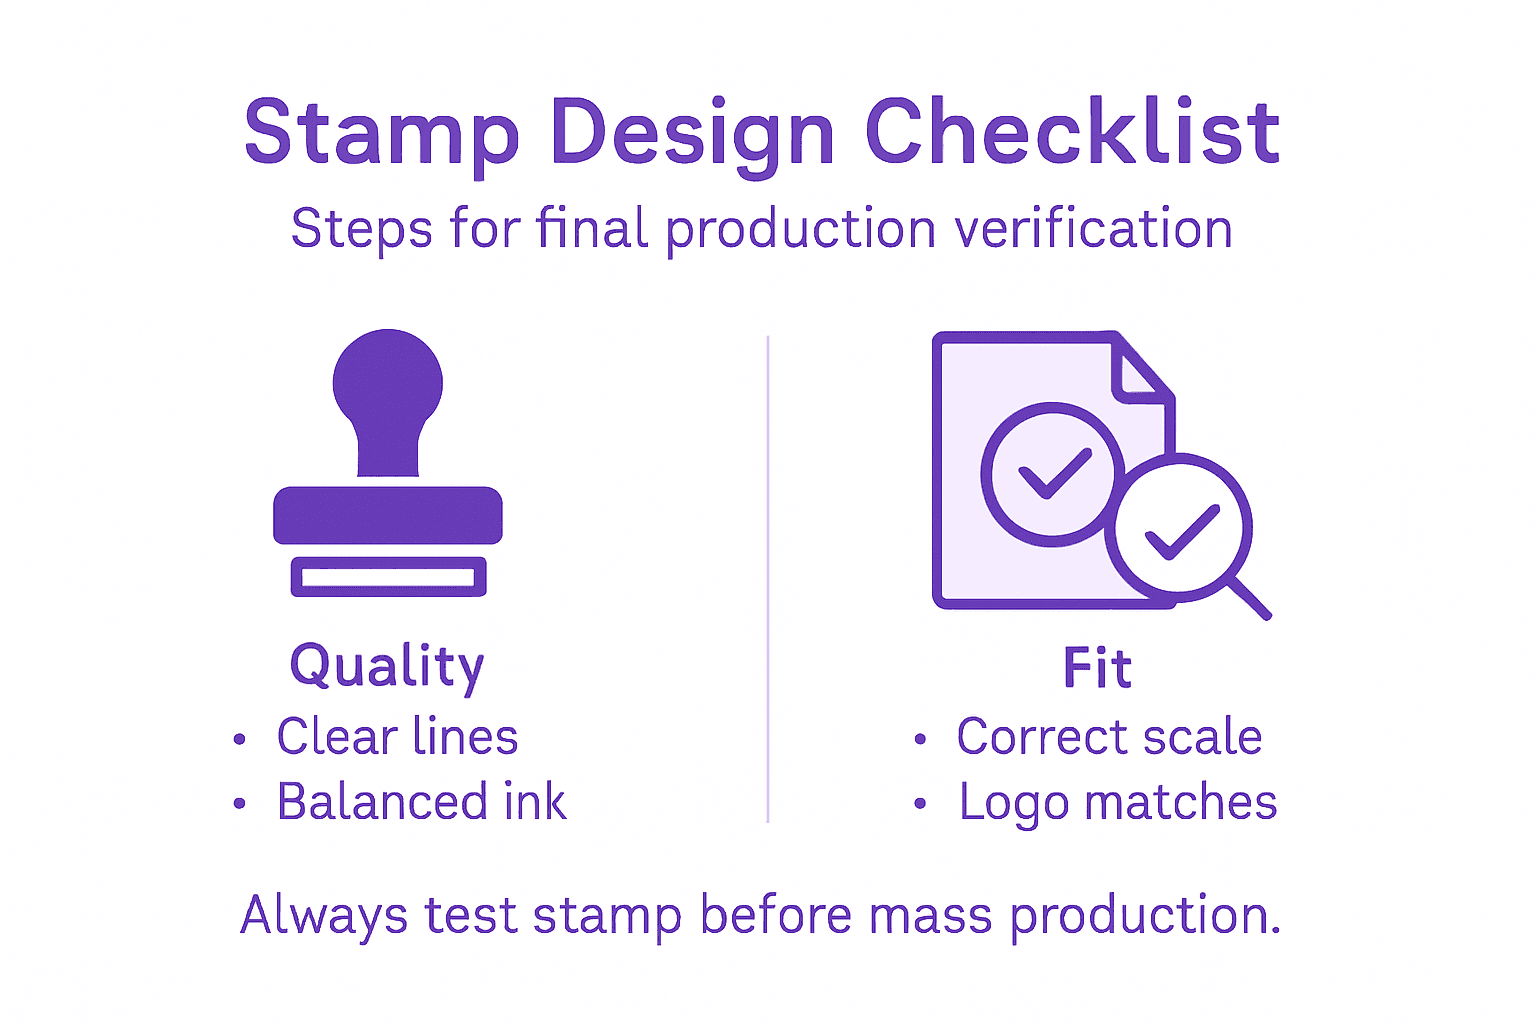
Conduct comprehensive quality checks using authoritative stamp verification protocols. Meticulously examine every aspect of your stamp design including line definition, graphic clarity, and overall dimensional accuracy. Review alignment marks, ensure consistent ink coverage, and verify that all design elements translate exactly as intended. Pay special attention to how your stamp will perform across different surfaces and printing conditions.
Carry out multiple trial impressions to validate the stamp’s performance. Test different ink types, pressure applications, and surface materials to confirm the stamp maintains its visual integrity and branding message. Collect feedback from colleagues or professional designers who can provide objective insights into the stamp’s visual communication and technical quality.
Top Tip: Create a side by side comparison of your original digital design and final stamp impression to identify any subtle variations that might require further refinement.
Take Control of Your Custom Stamp Design Journey Today
Designing the perfect custom stamp requires careful attention to every detail from artwork preparation to final production checks. The challenge lies in creating a clear and impactful branding tool that remains legible and professional across many impressions and surfaces. If you want to avoid common pitfalls such as unclear lines, poor colour contrast, or unreadable fonts, it is essential to have access to expert design support and quality production services.

Unlock the full potential of your branding with personalised rubber stamps crafted to your exact specifications. At Stamp Design 4U, we understand the importance of each step in the stamp design workflow. Our platform simplifies ordering bespoke stamps while offering professional guidance to ensure your artwork translates flawlessly. Whether you are a small business or organisation searching internationally for reliable custom branding solutions, start your journey with us. Explore our custom stamp design options and bring your brand identity to life with clarity and style. Act now to make a lasting impression with every stamp you create.
Frequently Asked Questions
How do I define my stamp branding requirements?
To define your stamp branding requirements, gather key visual elements that represent your brand, such as your logo, colour palette, and preferred fonts. Focus on how these will fit onto a stamp and ensure they are legible and clear at a smaller size.
What design assets should I prepare for my custom stamp?
Prepare high contrast designs that ensure clean lines and sharp details, using vector formats like AI or EPS. Simplify complex elements and maintain readability, ensuring your stamp artwork can be reproduced consistently across various surfaces.
How can I refine my stamp design after creating it?
Refine your stamp design by conducting test impressions on different materials to assess clarity and ink coverage. Make adjustments to line weights and simplify intricate details to enhance visibility and maintain professionalism.
What steps should I take to verify my stamp design before production?
Conduct quality checks on your stamp design, ensuring all elements are clear and properly aligned. Perform trial impressions with various ink types to confirm the stamp maintains its branding message and visual integrity.
How do I ensure legibility in my stamp design?
Ensure legibility by selecting bold typography and avoiding intricate details that can diminish during stamping. Test multiple iterations at stamp size to find the most effective visual elements that communicate your brand clearly.