
Choosing the right logo stamp for your brand can feel overwhelming when there are so many design rules and technical details to consider. For small business owners and marketing managers across the UK, understanding how to prepare artwork, select the perfect stamp type, and maintain brand consistency is vital for professional results. This guide gives you clear, actionable steps for creating a logo stamp that stands out and meets both British brand guidelines and postal size requirements.
Table of Contents
- Step 1: Prepare Your Logo For Stamp Design
- Step 2: Choose The Ideal Stamp Type And Size
- Step 3: Upload Your Logo To The Stamp Designer
- Step 4: Customise And Preview Your Stamp Design
- Step 5: Order And Verify Your Personalised Stamp
Quick Summary
| Key Point | Explanation |
|---|---|
| 1. Prepare high resolution logo | Use a high resolution, brand-compliant logo with clean lines for effective stamp design. |
| 2. Simplify design for readability | Modify intricate logos to bold, clear designs that remain legible at smaller sizes for stamps. |
| 3. Select appropriate stamp type | Choose a stamp type based on usage frequency and desired print quality for optimal functionality. |
| 4. Review uploaded logo details | Ensure the uploaded logo meets file format and resolution requirements for quality impressions. |
| 5. Verify design before ordering | Carefully check all design aspects and dimensions to confirm alignment with your branding needs. |
Step 1: Prepare your logo for stamp design
Creating a successful stamp design begins with preparing your logo precisely. Your logo will serve as the core visual element that transforms into a functional rubber stamp, requiring careful digital preparation and strategic design considerations.
To start, you need a high resolution digital version of your logo that can withstand the stamp production process. Ensure your artwork is officially brand compliant with crisp lines and clear graphic elements. Professional logos typically include multiple file variants - full colour, single colour, and transparent background versions - which give flexibility for different stamp printing requirements. When converting your logo, focus on creating clean vector graphics or high resolution PNG files with transparent backgrounds that maintain sharp details when scaled down.
Consider the practical constraints of stamp design. Small stamps demand simplified designs with bold lines and minimal intricate details. Complex logos with thin text or elaborate graphics might not translate effectively into a stamp format. Aim for strong contrast, clear silhouettes, and graphic elements that remain legible at smaller sizes. This might mean slightly modifying your original logo to ensure precise design registration and optimal stamp performance.
Expert advice: Always test your logo design at multiple size reductions to confirm readability and visual impact before final stamp production.
Below is a summary of key logo preparation tips for effective stamp design:
| Preparation Tip | Importance | Impact on Stamp Quality |
|---|---|---|
| Use vector graphics | Maintains sharpness when resized | Prevents blurry stamp impressions |
| Simplify design | Ensures small stamps stay readable | Avoids lost details |
| Test at reduced size | Checks legibility before production | Ensures professional appearance |
Step 2: Choose the ideal stamp type and size
Selecting the perfect stamp type and size is crucial for ensuring your custom logo stamp meets your specific business or personal requirements. Your choice will depend on factors like intended use, frequency of stamping, and the surface you will be marking.
When determining your stamp dimensions, consider the practical applications and postal size specifications that might impact your design. Business stamps typically range from compact pocket sizes around 10mm by 30mm for return addresses to larger administrative stamps measuring 45mm by 70mm for more comprehensive branding. The key is matching your stamp size to its intended purpose while maintaining logo legibility. Royal Mail size guidelines suggest considering standard letter dimensions when planning stamp designs for mailing purposes.
Different stamp types offer unique advantages. Self inking stamps provide convenience with built in ink pads perfect for frequent use. Traditional rubber stamps offer more customisation and work well for occasional stamping. Pre inked stamps deliver crisp impressions and are ideal for high quality graphic reproduction. Consider factors like impression frequency, surface type, and desired print quality when making your selection.
Here’s a quick comparison of stamp types to help guide your choice:
| Stamp Type | Print Quality | Ideal Frequency | Flexibility |
|---|---|---|---|
| Self inking | Moderate, consistent | Frequent use | Fixed size, convenient |
| Traditional rubber | Variable, customisable | Occasional use | Most design freedom |
| Pre inked | Sharp, high detail | High volume | Limited colour choice |
Expert advice: Measure the exact dimensions of your logo and test multiple stamp sizes to find the most effective representation of your branding.
Step 3: Upload your logo to the stamp designer
With your logo carefully prepared, you are now ready to upload it to the stamp design platform. This critical step transforms your digital artwork into a functional custom stamp that will represent your brand or personal style.
When uploading, pay close attention to file format requirements. Most platforms accept standard image formats like JPEG, PNG, and PDF. Ensure your file meets the specific resolution and size specifications of the stamp designer. Document uploading guidelines typically recommend files under 2MB with clear, high resolution graphics that will translate effectively to stamp format. Look for an upload button or drag and drop zone on the design interface, and carefully review the preview to confirm your logo appears crisp and recognisable.
Most online stamp design tools will provide immediate visual feedback, allowing you to see how your logo will look as a stamp before finalising your order. Check that text remains legible, graphic elements are sharp, and the overall design maintains its impact when reduced to stamp size. Some platforms offer additional editing tools to help you optimise your logo for stamping, such as adjusting contrast or simplifying complex graphic elements.
Expert advice: Always save a backup of your original logo file before uploading and making any design modifications.
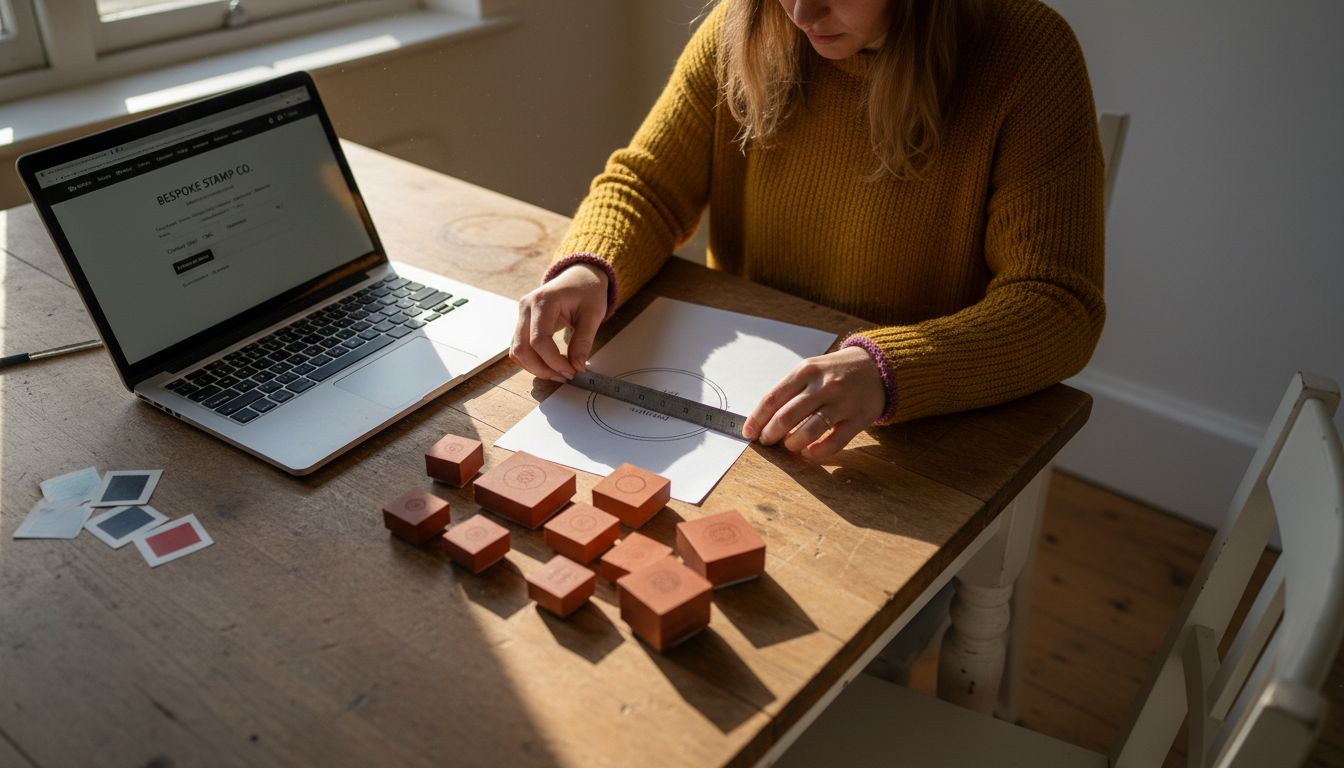
Step 4: Customise and preview your stamp design
With your logo uploaded, you are now entering the exciting phase of transforming your digital design into a professional custom stamp. This step allows you to refine and perfect your stamp’s visual presentation before final production.
![]()
Most digital stamp design platforms offer comprehensive design customisation tools that enable precise adjustments to your logo. Experiment with different positioning options, scaling your logo to fit perfectly within the stamp dimensions. Consider how the design will appear when impressed onto various surfaces and adjust accordingly. Pay close attention to text legibility, graphic clarity, and overall visual balance. Print preview features are crucial for identifying potential design issues before committing to the final stamp. Some platforms allow you to rotate, resize, and slightly modify your logo to ensure optimal stamping performance.
Take time to explore the available customisation options. You might find tools that let you adjust ink colour, modify background elements, or fine tune the stamp’s overall appearance. Many designers recommend creating multiple preview versions to compare and select the most effective design. Remember that subtle changes can significantly impact the stamp’s final look and functionality.
Expert advice: Always view your stamp design at 100% actual size to get the most accurate representation of how it will appear when printed.
Step 5: Order and verify your personalised stamp
You have reached the final stage of creating your custom stamp where careful verification ensures you receive exactly the product you designed. This critical moment transforms your digital design into a physical branding tool.
Before completing your purchase, carefully review every aspect of your stamp design. Design registration details recommend thoroughly checking that the final digital representation matches your intended branding requirements. Examine the stamp preview for precise logo placement, correct scaling, and accurate colour representation. Most online platforms provide a detailed preview screen allowing you to zoom in and inspect every element of your design. Verify text legibility, ensure graphic elements appear crisp, and confirm that the overall stamp dimensions match your original specifications.
Once you are satisfied with the design, proceed to the checkout process. Select your preferred stamp type such as self inking, traditional rubber, or pre inked stamp. Consider additional options like ink colour and mounting style that might enhance your stamp’s functionality. Many platforms offer a final confirmation screen where you can make last minute adjustments before completing your order.
Expert advice: Always download and save a digital copy of your final stamp design for future reference and potential reprints.
Transform Your Logo Into a Perfect Custom Stamp With Ease
Designing a clear and professional logo stamp comes with challenges like preparing sharp vector graphics, choosing the right stamp type and size, and ensuring readability at small scales. If you have struggled with simplifying complex logos or finding a reliable platform to upload and preview your design, you are not alone. These important steps can make or break the visual impact of your branding and complicate the creation process.
At StampDesign4U.co.uk, we understand these challenges and offer an intuitive online solution that supports every stage of your custom stamp journey. Our platform allows you to upload your carefully prepared logo, customise stamp styles including self-inking and traditional rubber options, and preview your design at actual size to guarantee perfect clarity. Whether for business branding or personal use, our service removes the guesswork from logo stamp creation and helps you order your personalised product with confidence.

Ready to bring your logo to life as a tailor-made stamp? Visit StampDesign4U.co.uk now to start designing with user-friendly tools and expert support. Simplify your next stamping project today by exploring our custom stamp options and experience hassle-free personalised branding like never before.
Frequently Asked Questions
How do I prepare my logo for stamp design?
To prepare your logo for stamp design, ensure you have a high-resolution digital version that is brand compliant. Use vector graphics or high-resolution PNG files, and simplify your design to maintain legibility at smaller sizes.
What factors should I consider when choosing the type and size of my stamp?
When selecting a stamp type and size, consider how frequently you will use it and the surfaces you will be stamping. Match your stamp dimensions to its intended purpose, such as using small sizes for return addresses and larger ones for branding.
What file formats should I use to upload my logo for stamp creation?
Most stamp design platforms accept standard image formats like JPEG, PNG, and PDF. Ensure your file is under 2MB and meets the resolution requirements to maintain clarity when printed as a stamp.
How can I customise my stamp design after uploading my logo?
After uploading your logo, use the design customisation tools to adjust positioning, size, and ink colour. Preview the design at 100% actual size to check that it appears clear and legible for final production.
What should I verify before ordering my custom stamp?
Before placing your order, thoroughly review the stamp design, checking for accurate logo placement, scaling, and colour representation. Zoom in to confirm that text is legible and all graphic elements are clear.
How can I ensure my stamp design is suitable for future reprints?
Download and save a digital copy of your final stamp design after ordering so you can easily access it for future reprints. This helps maintain consistency in your branding for any subsequent orders.
Recommended
- Step-by-Step Guide to Logo Stamp Creation for Beginners – Stamp Design 4U
- Master the Stamp Design Workflow for Custom Branding – Stamp Design 4U
- How to Design Artistic Stamps for Custom Projects – Stamp Design 4U
- Boost Your Branding: Custom Logo Stamps For Businesses – Stamp Design 4U
- Personalizing Art Prints: Step-by-Step Guide for Unique Decor – Eman’s Gallery