
Most british businesses and creative professionals overlook one simple fact: a well designed custom stamp can dramatically boost brand recognition and efficiency. With over 80 percent of professional documents in the UK still requiring physical marks or signatures, having a stamp tailored to your exact needs drives both credibility and convenience. This guide breaks down every practical and creative step, helping you design the perfect stamp that matches your unique british identity while ensuring professional quality and seamless workflow.
Table of Contents
- Step 1: Define Your Stamp Purpose And Specifications
- Step 2: Prepare And Upload Your Logo Or Artwork
- Step 3: Choose Size, Shape, And Material Options
- Step 4: Customise Layout And Preview Stamp Design
- Step 5: Review And Approve Your Digital Proof
- Step 6: Complete Your Order And Verify Final Delivery
Quick Summary
| Important Insight | Explanation |
|---|---|
| 1. Define clear stamp purpose | Identify the specific functionality needed for your stamp to guide its design effectively. |
| 2. Ensure high-quality artwork upload | Use high-resolution images in appropriate formats to achieve sharp, professional impressions. |
| 3. Choose suitable size and material | Select dimensions and materials that align with your intended use for best performance and durability. |
| 4. Customise layout for clarity | Arrange text and graphics thoughtfully to maintain a clean design that communicates clearly. |
| 5. Review digital proof meticulously | Check every detail in your digital proof for accuracy before approving, ensuring a quality final product. |
Step 1: Define your stamp purpose and specifications
Defining the specific purpose and requirements for your custom stamp will determine its entire design trajectory. Whether you are creating a professional business logo stamp, a personalised address marker, or a creative artistic embellishment, understanding your precise needs is fundamental to achieving the perfect result.
Start by clearly identifying the stamp’s primary function. According to Royal Mail Technical, professional stamp designs must adhere to specific technical specifications. Consider these key factors when determining your stamp specifications:
- Intended usage (business correspondence, personal branding, artistic projects)
- Surface area where the stamp will be applied
- Frequency of stamp usage
- Desired impression size and detail level
- Colour requirements and ink compatibility
Carefully evaluate the practical requirements alongside your creative vision. As Citipost Mail guidelines suggest, technical constraints can significantly influence design choices. Your stamp must balance aesthetic appeal with functional performance.
Pro Tip: Always test your initial design concept on sample materials to ensure the stamp produces the exact impression you desire. This preliminary step can save significant time and resources by identifying potential design limitations early in the process.
Once you have defined your stamp purpose and specifications, you will be ready to move forward with creating a precise design that meets both your creative and practical requirements.
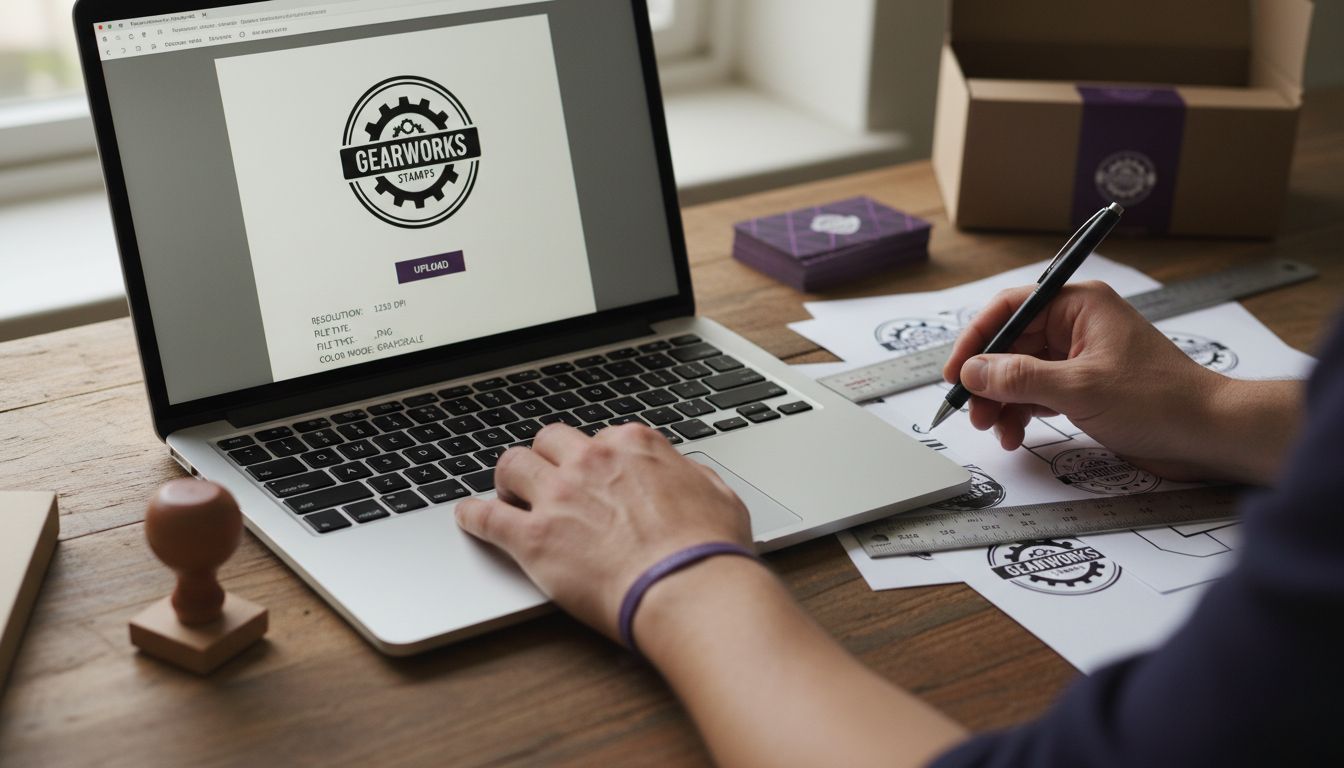
Step 2: Prepare and upload your logo or artwork
Upload your logo or artwork represents a crucial stage in creating your custom stamp design. Your digital file needs to meet specific technical requirements to ensure a high quality final stamp impression.
Begin by selecting a high resolution digital image with clear lines and sharp details. Ideal file formats include PNG, JPEG, or vector graphics like Adobe Illustrator files. When preparing your artwork, aim for a minimum resolution of 300 dots per inch to guarantee crisp and professional results. Guide to Logo Stamp Creation for Beginners recommends converting complex designs into simple black and white graphics for optimal stamp performance.
The file upload process requires careful attention. Ensure your artwork has:
- Transparent or white background
- High contrast between design elements
- Appropriate file size (typically under 10MB)
- Clean vector lines or high resolution pixel graphics
Pro Tip: Always preview your design at actual stamp size to verify intricate details will translate correctly. Some design elements that look good on screen might become unclear when physically stamped.
Once your artwork meets these technical specifications, you will be ready to proceed to the next stage of your custom stamp creation journey.
Step 3: Choose size, shape, and material options
Selecting the right size, shape, and material for your custom stamp is a critical decision that will directly impact its functionality and aesthetic appeal. Your choices will determine how effectively your stamp performs across different surfaces and applications.
Consider the primary purpose of your stamp when evaluating size and shape options. Boost Your Branding: Custom Logo Stamps for Businesses suggests matching your stamp design to your specific usage requirements. Business stamps typically range from compact 10mm x 10mm sizes perfect for return addresses to larger 45mm x 70mm formats ideal for comprehensive logo impressions.
Material selection plays a crucial role in stamp durability and performance. Common options include:
- Natural rubber for detailed artistic designs
- Polymer materials for crisp corporate branding
- Self inking stamps for convenience and repeated use
- Traditional wooden mount stamps for classic aesthetic
Pro Tip: Always consider the surfaces where you will use the stamp. Some materials work better on paper, while others are optimised for fabric, wood, or specialised surfaces.
Your material and design choices will ultimately determine the stamp’s longevity and professional appearance. Take time to evaluate each option carefully to ensure your custom stamp meets your exact specifications.
Step 4: Customise layout and preview stamp design
Customising your stamp layout represents the creative pinnacle of your design journey. This stage transforms your initial concept into a tangible, professional stamp that accurately represents your brand or personal style.
Begin by experimenting with text placement, font selection, and design alignment. Why Design Your Own Custom Stamp: A Complete Guide recommends considering visual hierarchy and balance when positioning your graphic elements. Ensure your most important information stands out while maintaining a clean, uncluttered appearance.
Key considerations during layout customisation include:
- Proportional spacing between design elements
- Font readability at different stamp sizes
- Negative space to prevent overcrowding
- Alignment of text and graphic components
- Visual symmetry and professional presentation
Pro Tip: Utilise the preview function extensively. Many design platforms offer real time rendering, allowing you to see exactly how your stamp will look before final production. This helps catch potential design issues early in the process.
Once you have fine tuned your layout and are satisfied with the preview, you will be ready to move forward to the final stages of your custom stamp creation.
Step 5: Review and approve your digital proof
Reviewing and approving your digital proof represents the critical final checkpoint before your custom stamp becomes a reality. This stage ensures that every detail matches your precise vision and requirements.
Stamprints recommends a meticulous digital proof review process, where customers receive an electronic preview and have the opportunity to request unlimited revisions before final production. During this review, examine your digital proof with exceptional attention to detail.
Critical elements to scrutinise in your digital proof include:
- Text accuracy and spelling
- Exact font style and size
- Precise graphic placement
- Overall design alignment
- Colour consistency
Pro Tip: Open the digital proof on multiple devices to verify how the design appears across different screen sizes and resolutions. What looks perfect on a computer might appear slightly different on a tablet or smartphone.
Once you are completely satisfied with every aspect of the design, approve the digital proof to commence the final production of your custom stamp. This careful review guarantees your stamp will meet your professional standards and functional requirements.
Step 6: Complete your order and verify final delivery
Completing your custom stamp order represents the culmination of your creative journey. This final stage transforms your carefully designed concept into a tangible professional tool that will serve your specific needs.
Proceed by carefully reviewing all order details including quantity, stamp specifications, and shipping information. Double check your delivery address and preferred contact method to ensure smooth processing. Confirm your payment method and review any additional services such as express shipping or gift packaging that might enhance your purchasing experience.
Key actions during order completion include:
- Verifying exact stamp specifications
- Confirming shipping address details
- Selecting appropriate delivery method
- Reviewing total order cost
- Checking estimated production and delivery timeframes
Pro Tip: Save your order confirmation email and tracking information. This documentation provides crucial reference points should you need to track your stamp or contact customer support about your purchase.
Once your order is processed, anticipate receiving a comprehensive confirmation with estimated production and delivery dates. Your meticulously designed custom stamp will soon be ready to transform your professional or personal branding approach.
![]()
Bring Your Custom Stamp Design to Life with Expert Support
Creating the perfect personalised stamp involves careful decisions at every step from defining your stamp’s purpose and selecting the ideal size and material to previewing your final layout and approving your digital proof. If you feel overwhelmed by technical specifications or unsure how to translate your vision into a crisp, professional stamp, you are not alone. The process demands precision and attention to detail to ensure your stamp impression meets both aesthetic and functional goals.
At Stamp Design 4U, we understand these challenges and provide a seamless platform designed specifically for individuals and businesses who want to create high-quality custom stamps with confidence. Whether you want a durable rubber stamp for branding or an artistic design to personalise your projects, our easy-to-use service offers clear steps and expert guidance every step of the way.

Ready to transform your custom stamp concept into a perfect finished product now Why wait when you can explore our comprehensive custom stamp design options, upload your artwork easily, and get instant previews on Stamp Design 4U. Take control of your branding or personalisation today with a trusted platform that caters to your exact specifications and delivers professional results worldwide. Visit Stamp Design 4U to start designing your perfect stamp and experience the difference of expert customisation made simple.
Frequently Asked Questions
How do I define the purpose and specifications for my custom stamp?
Defining the purpose and specifications for your custom stamp starts with identifying its primary function, such as business use or personal branding. List your requirements, like intended usage, surface area, and impression size, to guide the design process effectively.
What are the recommended file specifications for uploading artwork to create a stamp?
When uploading artwork, use a high-resolution file format such as PNG or JPEG. Aim for a minimum resolution of 300 dots per inch and ensure your design has a transparent background with high contrast to achieve the best stamp quality.
How can I choose the best size, shape, and material for my custom stamp?
Select the size and shape based on the stamp’s intended use and the surface it will be applied to. Consider materials like natural rubber for detailed designs or self-inking options for convenience, ensuring they fit your functionality and aesthetic needs.
What should I focus on during the layout customisation of my stamp?
During layout customisation, focus on text placement, font readability, and alignment of design elements. Ensure that your layout maintains visual balance and uses negative space effectively to avoid a cluttered appearance.
How do I review and approve my digital proof before finalising my stamp order?
To review your digital proof effectively, check for text accuracy, font consistency, and overall alignment. Open the proof on multiple devices to ensure it appears correctly across different screens before approving it for production.