
TL;DR:
- Previewing your custom stamp ensures the final product accurately reflects your design and brand.
- Avoid common errors such as selecting the wrong PDF page, using incompatible file formats, or skipping the preview process altogether.
Ordering a custom rubber stamp without previewing the design first is one of the most common and avoidable mistakes people make. Whether you are a small business owner wanting to stamp invoices with your logo, or an individual creating a personalised keepsake, knowing how to preview custom stamps before committing to a purchase gives you the confidence that the final product will be exactly right. This guide covers everything you need: the correct file formats, step-by-step instructions for showing custom stamp designs on screen, and practical tips for avoiding the errors that lead to costly reprints.
Table of Contents
- What you need before previewing custom stamps
- Step-by-step guide to previewing your custom stamp design
- Common mistakes and tips to avoid errors when previewing custom stamps
- How previewing affects your final custom stamp satisfaction
- Rethinking the custom stamp preview process: insights from experience
- Explore custom stamp options at Stamp Design 4U
- Frequently asked questions
Key Takeaways
| Point | Details |
|---|---|
| Prepare the right files | Ensure your stamp design is in a supported file format like PDF or JPEG before attempting to preview. |
| Follow preview steps carefully | Use step-by-step instructions to select and preview your stamp design accurately in your software. |
| Avoid common preview mistakes | Scroll to the correct PDF page and check compatibility to prevent ordering errors. |
| Preview boosts satisfaction | Seeing your design beforehand reduces costly errors and increases confidence in your custom stamp. |
| Choose trusted suppliers | Use reputable vendors offering preview tools to ensure your personalised stamp matches your vision. |
What you need before previewing custom stamps
Before you can preview your design, you need to have a few things in place. Rushing straight into the process without the correct files or software is the number one reason previews fail or produce unexpected results.
File formats supported for stamp design preview
Custom stamp preview tools support a range of design file types: PDF, JPEG, PSD, AI, and DWG. If you are using Adobe Acrobat Reader specifically, note that it supports PDF files only for creating and previewing stamps. Full Acrobat supports the wider list.
Understanding this distinction matters. If you send a JPEG file to a colleague who only has Reader, their preview will not work. Get the right file format sorted before you start, and save yourself the back-and-forth.
Here is a quick reference for what each format is typically used for:
| File format | Best used for | Reader compatible |
|---|---|---|
| Finished designs, multi-page layouts | Yes | |
| JPEG | Photographic or raster logo files | No (full Acrobat only) |
| PSD | Layered Photoshop design files | No (full Acrobat only) |
| AI | Adobe Illustrator vector artwork | No (full Acrobat only) |
| DWG | Technical or CAD drawings | No (full Acrobat only) |
Before you begin, check your custom stamp design workflow to confirm your file is in the correct format and at the appropriate resolution for printing. Low-resolution files look sharp on screen but produce blurry stamps in real life.
Pro Tip: Export your design file as a PDF before uploading it for preview. PDF preserves fonts, colours, and vector quality reliably across all tools and operating systems, reducing the chance of display errors.
You should also have your stamp text finalised before previewing. If the wording, address, or logo is still subject to change, update those details first. Refer to a personalise stamp text guide if you need help formatting your text correctly before creating the design file.
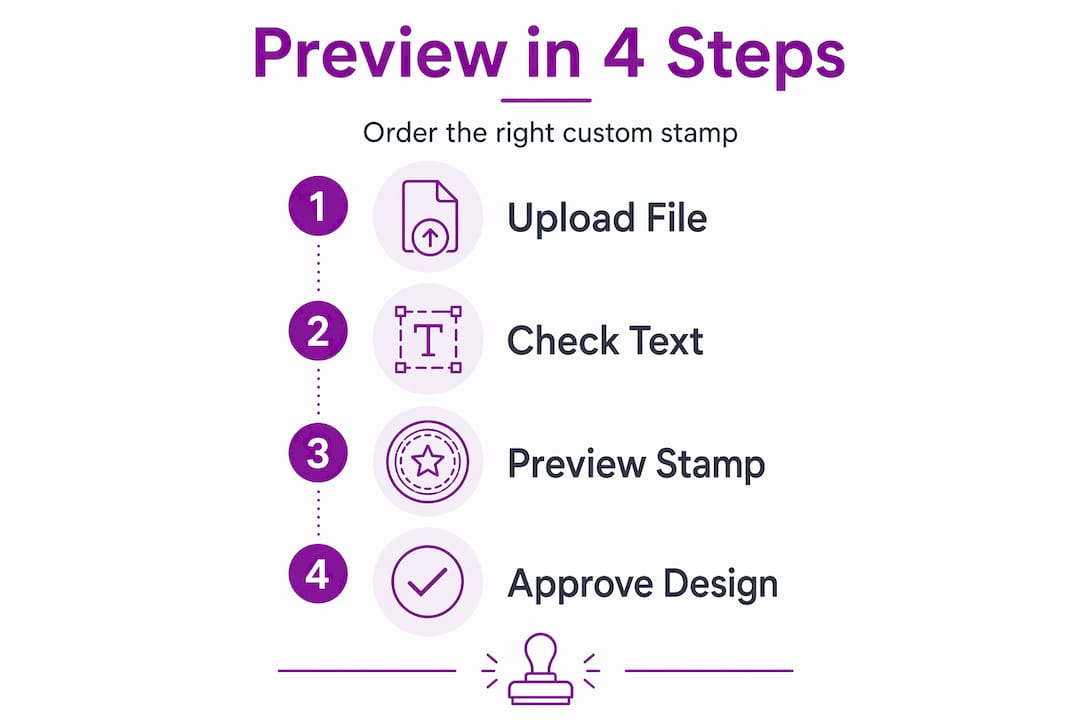
Step-by-step guide to previewing your custom stamp design
Once your file is prepared and your software is ready, the actual preview process is straightforward. Follow these steps carefully to visualise your design accurately before placing your order.
-
Open your stamping software or PDF application. Launch Adobe Acrobat or the stamp tool provided by your supplier. Navigate to the custom stamp creation section, usually found under the Comments or Annotations menu.
-
Select “Create custom stamp.” This opens a file browser dialogue. Do not skip this step by trying to drag and drop files, as some tools do not accept that input method reliably.
-
Browse to your design file and select it. Choose the PDF, JPEG, AI, PSD, or DWG file you have prepared. The selected file appears as a preview immediately in the dialogue box, giving you your first look at how it will render.
-
For multi-page PDFs, scroll to the correct page. If your design file contains several pages, such as a branding document with multiple logo variants, scroll through the pages in the preview panel. Select the exact page you want to use as your stamp, then confirm with OK. Selecting the wrong page here is a very common error, covered in more detail in the next section.
-
Assign a category and name to your stamp. This organises your design within the tool and makes it easier to find later. Use a clear naming convention, such as “Logo Black 40mm” or “Invoice Stamp Round.”
-
Confirm and place the stamp to view it in context. Clicking OK creates the stamp. Place it on a test document or blank page to see how it looks at actual size in a realistic setting.
-
Adjust as needed before ordering. Most tools allow you to resize, reposition, and check opacity at this stage. Use this opportunity to compare the preview against your brand guidelines.
Pro Tip: Place your stamp preview on a document that resembles what you will actually be stamping, such as a printed invoice template or a plain white background. Previewing on a relevant surface makes it far easier to spot sizing issues before you order.
For a practical walkthrough of taking a logo through to a finished stamp order, the step-by-step logo to stamp guide is a useful companion resource. Once you are happy with the design, the guide to ordering custom stamps online explains how to complete your purchase efficiently.
Common mistakes and tips to avoid errors when previewing custom stamps
Previewing is only useful if you avoid the pitfalls that undermine the process. These are the mistakes people make most often, and how to sidestep each one.
-
Selecting the wrong PDF page. Multi-page PDFs are a particularly common trap. Scrolling to the correct page before confirming is essential. Designers often store multiple logo variations in a single document and forget which page holds the final approved version.
-
Ignoring file format compatibility. Uploading a PSD file into a Reader-only workflow will produce an error or a blank preview. Always confirm which version of the software is in use before selecting your file format.
-
Not checking resolution before previewing. A 72 DPI image looks acceptable on screen but will appear blurry or pixelated when physically stamped. For clean results, your design should be at a minimum of 300 DPI.
-
Skipping the preview altogether. It sounds obvious, but many people place orders without using the preview step at all, relying on a rough mental image of what the stamp will look like. This is how costly reorders happen.
-
Not saving the preview configuration. After adjusting size, position, and opacity, save your settings. If you close the file without saving, you will need to repeat the entire process.
“Previewing is not the finishing line. It is the quality checkpoint before production begins. Treat it as non-negotiable.”
Pro Tip: Keep a single, well-organised master file for each stamp design. Label each version clearly, for example “Version 1 Draft,” “Version 2 Approved.” This prevents confusion when selecting files during the preview stage.
For a thorough overview of quality checks throughout the ordering process, the best practices for custom stamps guide covers file preparation, design rules, and ordering advice in one place.

How previewing affects your final custom stamp satisfaction
Previewing is not just a technical step. It directly shapes how satisfied you will be with the finished product. Here is why custom stamp visualisation deserves more attention than it typically receives.
-
Catch design flaws before production. Spacing errors, incorrect fonts, and misaligned logos are all visible in a good preview. Fix them at this stage and they cost nothing. Fix them after production and you pay for a full reorder.
-
Confirm size accuracy. A stamp that looks the right size on a monitor may be far too large or too small in practice. Previewing at actual scale, and placing it on a real document for context, reveals sizing issues clearly.
-
Build confidence in your brand presentation. For businesses, the stamp represents your brand on every document it touches. Visual confirmation that it looks professional reduces anxiety and improves the ordering experience.
-
Enable real-time adjustments. Interactive preview tools let you tweak the design before committing. Live previews reduce order errors and increase customer confidence significantly, particularly for first-time buyers.
| Benefit of previewing | Outcome without preview |
|---|---|
| Spot font and spacing errors | Errors carried into production |
| Confirm correct size | Wrong size stamped on documents |
| Verify brand colours and clarity | Washed-out or incorrect impression |
| Check correct PDF page selected | Wrong design variant produced |
| Adjust opacity and placement | Unsatisfactory final result |
For practical context on how businesses use personalised stamps day to day, the practical personalised stamp uses article is worth reading. If you are ordering stamps to support your business operations specifically, the guide on how to optimise purchasing operations with custom stamps covers the workflow in detail.
Rethinking the custom stamp preview process: insights from experience
Most people treat the preview as a formality. They glance at the thumbnail, decide it looks roughly right, and click OK. That is precisely why so many custom stamps arrive and disappoint.
The preview step is genuinely the most valuable part of the ordering process, and it receives the least attention. Think about what you are actually doing when you preview a stamp design. You are not just checking it looks like the file you uploaded. You are confirming that the physical object you are about to receive will represent you accurately, at the correct size, with the correct detail, on the surfaces you actually use. That is a significant decision compressed into a 30-second interaction.
The advancement of preview tools in recent years has made this step faster and more reliable than it used to be. There is no longer any excuse to skip it or rush it. Software now renders previews at near-print quality, and many online suppliers offer interactive design tools that update the preview in real time as you make changes.
One consistent pattern emerges among people who are highly satisfied with their custom stamps: they engaged properly with the preview. They placed it on a test document. They checked the sizing against something physical. They looked at it the next morning with fresh eyes. That last point matters more than most people realise. A design you approved at 11pm after a long day often looks very different at 9am with a clear head.
The difference between an average custom stamp and one that genuinely represents a business well almost always comes down to the quality of the review at the preview stage. Following the best practices for custom stamps guide gives you a reliable framework for making that review thorough and consistent every time.
Explore custom stamp options at Stamp Design 4U
If you are ready to put these steps into practice, Stamp Design 4U offers a wide range of personalised rubber stamps for individuals and small businesses across the UK and internationally. From logo stamps to text-only designs, the platform supports you through the design and preview process before you commit to an order.

Browse trusted products such as the Trodat 4927 logo and text stamp, a popular choice for professional branding, or the compact Traxx 9021 loyalty stamp for customer-facing applications. Stamp Design 4U carries products from quality-assured brands including Trodat and Traxx, with expert support available if you need guidance at any stage of your order.
Frequently asked questions
What file formats can I use to preview custom stamps?
You can preview custom stamps using PDF, JPEG, PSD, AI, and DWG file formats; however, Adobe Acrobat Reader supports only PDF files for this purpose.
How do I select the correct page when previewing multi-page PDF stamp designs?
When previewing a multi-page PDF, scroll to the exact page containing your desired stamp design before selecting OK to ensure the correct image is used.
Why is previewing my custom stamp before ordering important?
Live previews reduce order errors and increase customer confidence, helping you catch design flaws and confirm the stamp matches your expectations before production begins.
Can I modify my custom stamp after previewing it?
Yes, after previewing you can adjust the size, colour, and opacity using your stamping software tools before finalising your order.
What common mistakes should I avoid when previewing stamps?
Avoid selecting the wrong PDF page, ignoring file format compatibility, and skipping the preview step entirely, as each error can result in an incorrect or unusable stamp.