
TL;DR:
- Step-by-step stamp making involves designing and crafting personalized rubber stamps using carving tools, Cricut cutting machines, or laser engraving equipment. Each method varies in precision, cost, and skill needed, providing a practical pathway suited for beginners and experienced crafters alike.
Step by step stamp making is the process of designing and crafting personalised rubber stamps using carving tools, Cricut cutting machines, or laser engraving equipment. Each method produces a functional stamp, but they differ in precision, cost, and skill required. This guide covers all three approaches in full, from choosing your materials to testing your first print. Whether you are new to beginner stamp crafting or looking to refine your custom stamp creation process, you will find a clear, practical path forward here.
What materials and tools are essential for step-by-step stamp making?
The right materials determine whether your finished stamp prints cleanly or smudges every time. Before you begin any stamp making tutorial, gather your supplies based on the method you plan to use.
Common materials across all methods:
- Rubber carving blocks (Speedball Speedy-Carve or Staedtler MarsCarve are reliable choices)
- Foam sheets for simpler, low-detail designs
- Wooden blocks or acrylic mounts for handles
- Ink pads (dye-based for paper, pigment-based for fabric or mixed media)
- Cutting mats to protect your work surface
Tools by method:
| Method | Primary tools | Software needed |
|---|---|---|
| Hand carving | Carving gouges, lino knives, tracing paper | None |
| Cricut cutting | Cricut Maker or Explore Air 2, deep-cut blade | Cricut Design Space |
| Laser engraving | CO2 or diode laser engraver (e.g. xTool, Sculpfun) | LightBurn, LaserGRBL |
For finishing, you need craft glue or double-sided tape to mount your stamp onto a wooden block. A brayer or ink applicator helps distribute ink evenly across the stamp surface before printing.
Pro Tip: When hand carving, choose a carving block that is at least 3mm thick. Thinner blocks flex under pressure and cause uneven prints.
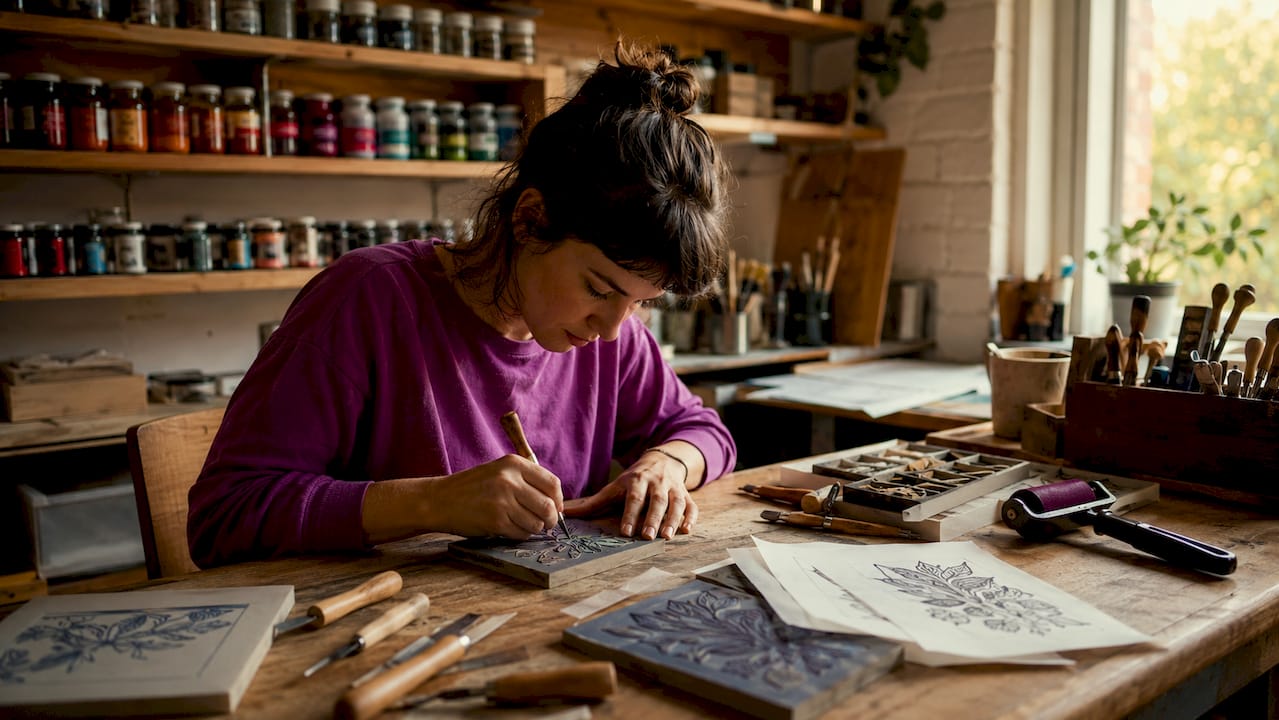
How to make a custom rubber stamp by hand carving
Hand carving is the most accessible method for beginner stamp crafting. It requires no electricity, no software, and minimal upfront cost. The trade-off is time and precision: fine details are harder to achieve than with machine methods.
Follow these steps for a clean result:
- Choose your design. Keep it bold and simple for your first attempt. Avoid thin lines under 2mm wide. Text works best in chunky, sans-serif fonts.
- Transfer the design. Draw or print your design, then place it face-down on the rubber block. Rub the back firmly with a pencil or bone folder. Lift the paper to reveal a faint mirror image on the rubber surface.
- Outline first. Use a fine V-gouge to cut along the edges of your design. Shallow outlining with small tools before bulk removal protects fine details and keeps edges clean.
- Remove the background. Switch to a wider U-gouge to clear the rubber around your design. This is the negative space. The raised areas are what will ink and print.
- Understanding positive and negative space is critical. Positive and negative space distinction prevents collapse of fine details under stamping pressure. Carve away more than you think you need around small elements.
- Test your stamp. Press the carved block onto an ink pad, then stamp firmly onto paper. Examine the print under good light.
- Refine and repeat. Most DIY stamps require 2–3 test prints and refinements before the result is sharp and consistent.
- Mount the stamp. Glue the finished rubber block to a wooden block or acrylic handle for easier use.
Pro Tip: Always carve away from your fingers. Carving tools are sharp and slip easily on rubber. A non-slip mat under your block prevents accidents.
Common problems include torn fine lines (caused by rushing the outline step) and patchy prints (caused by uneven ink application or insufficient pressure). Both are fixed by slowing down and testing more frequently.
How does Cricut stamp making work step by step?
Cricut cutting machines offer a faster, more repeatable route to custom stamp creation. The machine does the cutting; your job is to prepare the design file correctly and calibrate the settings before committing to your final material.
- Prepare your design in Cricut Design Space. Use high-contrast black and white artwork. Simplify any complex shapes. The software converts your image into a cut path, so clean outlines produce cleaner stamps.
- Run a calibration test cut. Calibration test cuts on scrap material match cutting depth to your rubber or foam sheet thickness. Skip this step and you risk tearing or undercutting your final piece.
- Adhere your rubber or foam sheet to the cutting mat. Use a strong-grip mat for rubber. Press the sheet down firmly to prevent shifting during the cut.
- Set machine parameters. Select the correct material setting in Design Space. For rubber stamp sheets, use the “Stamp Material” preset or a custom setting with slow speed and increased pressure.
- Run the cut. Do not lift the mat until the machine has fully completed its pass. Premature removal causes tearing.
- Weed the cut piece. Remove the excess rubber around your design using a weeding tool. What remains is your stamp face.
- Mount to a wooden block. Gluing the cut piece to a wooden block creates an ergonomic handle and improves pressure consistency during stamping.
- Test and adjust. Ink the stamp and press onto paper. Check for gaps or uncut areas and trim with a craft knife if needed.
Cricut cutting offers consistent, repeatable results for hobbyists who want multiple identical stamps without carving each one by hand. It suits logos, monograms, and geometric patterns particularly well.
Creating professional-quality stamps using laser engraving
Laser engraving produces the sharpest, most detailed stamps of the three methods. It suits intricate designs, fine text, and anyone who wants results close to commercially produced stamps.
Setting up your design file
Two rules govern laser stamp design. First, mirror your design horizontally before sending it to the machine. Failure to do this produces a reversed stamp image, a common beginner error with no easy fix after engraving. Second, keep line thickness at 0.5mm or above. Lines thinner than this clog with ink and fail to transfer cleanly.
Step-by-step laser engraving process
- Prepare your mirrored design file in LightBurn or LaserGRBL. Set the engraving layer and the cut outline as separate operations.
- Secure the rubber sheet to the laser bed using tape or clamps. Movement during engraving ruins the design.
- Engrave the design first. Engraving before cutting the outline prevents the rubber piece from shifting during the high-speed engraving pass. Cutting first loosens the piece and causes blurry impressions.
- Cut the outer shape. Run the cut layer after engraving is complete.
- Clean the engraved surface. Brush with a toothbrush under warm water to remove debris and residue. This step is non-negotiable for crisp ink transfer.
- Mount to a wooden block using strong craft adhesive.
- Test print and evaluate. Check for clogged recesses or uneven depth and adjust laser power if needed.
| Setting | Recommended range | Effect on stamp |
|---|---|---|
| Laser power | 30–60% | Controls engraving depth |
| Speed | 200–400 mm/s | Affects detail resolution |
| Line thickness | 0.5mm minimum | Prevents ink clogging |
| Design orientation | Horizontally mirrored | Produces correct print |
Pro Tip: Run a small test patch on a scrap piece of the same rubber before engraving your full design. This confirms your power and speed settings without wasting material.
Precision in digital design mirroring and line thickness is especially important for laser engraving. Getting these two elements right before you start saves significant time and material.
Which stamp making method suits your project?
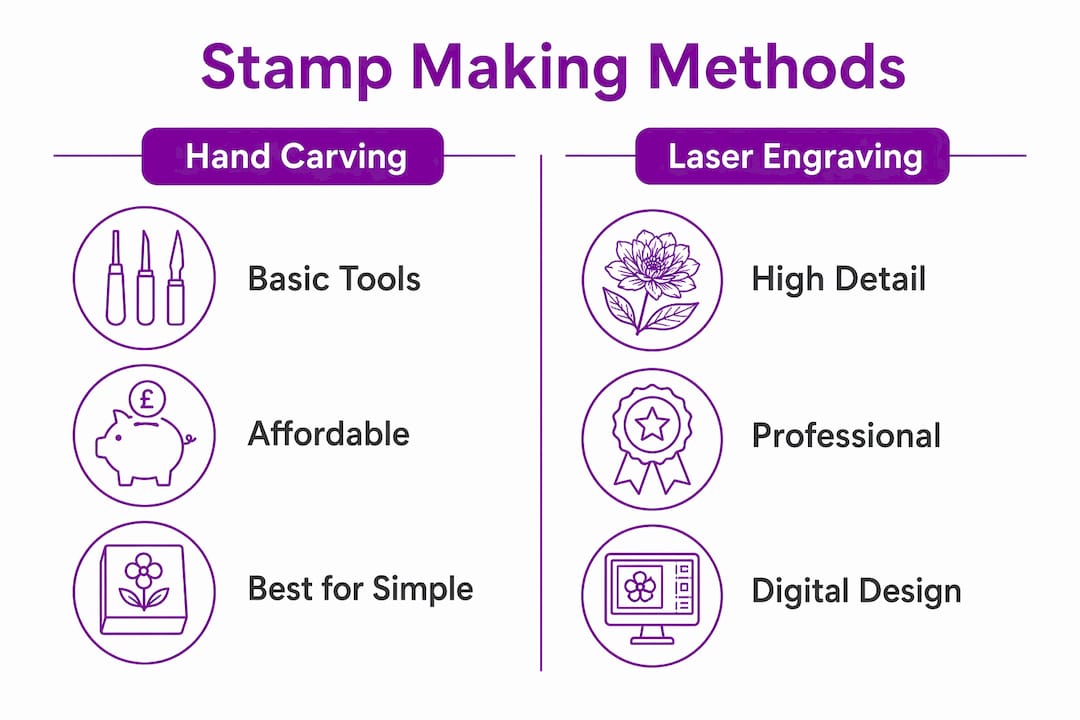
Choosing between hand carving, Cricut cutting, and laser engraving depends on three factors: your budget, your skill level, and the complexity of your design. No single method is best for every situation.
| Method | Skill level | Upfront cost | Best for |
|---|---|---|---|
| Hand carving | Beginner to intermediate | Low (under £30) | Simple shapes, organic designs |
| Cricut cutting | Beginner | Medium (£200–£400) | Logos, monograms, repeated use |
| Laser engraving | Intermediate to advanced | High (£150–£800+) | Fine detail, text, bulk production |
Choosing by use case:
- For DIY postcard stamps and greeting card projects, hand carving gives a charming, handmade quality that machines cannot replicate.
- For consistent branding stamps used repeatedly, Cricut or laser engraving produces more uniform results.
- For intricate portrait or botanical designs, laser engraving is the only method that reliably handles fine detail.
Careful design preparation determines stamp quality more than the method itself. A well-prepared design produces a good stamp by any method. A rushed design produces a poor one regardless of the tool used. You can also combine methods: carve a rough shape by hand, then use a laser to add fine text or detail to the same block.
For further guidance on preparing your artwork, the stamp image preparation guide at Stampdesign4u covers the full digital workflow in detail.
Key takeaways
The most effective approach to custom stamp creation is to match your method to your design complexity, budget, and intended use before purchasing any tools.
| Point | Details |
|---|---|
| Method selection matters | Hand carving suits simple designs; Cricut and laser engraving suit complex or repeated use. |
| Mirror designs for laser work | Always flip your design horizontally before laser engraving to avoid a reversed print. |
| Test prints are non-negotiable | Plan for 2–3 test prints and adjustments before treating any stamp as finished. |
| Design quality drives results | Precise outlines and correct line thickness determine stamp clarity across all methods. |
| Mounting improves consistency | Attaching your stamp to a wooden block gives better pressure control and cleaner prints. |
What I have learnt from years of stamp making
My honest view is that most beginners overthink the method and underthink the design. I spent my first few months fixated on which carving tool to buy, when the real problem was that my designs had too much fine detail for hand carving to handle. The moment I simplified my artwork, my results improved dramatically.
The single biggest mistake I see is skipping test prints. People carve or engrave a design, mount it immediately, and then feel deflated when the first real print is patchy. Test prints and iterative refinements are not optional extras. They are the actual process. Expect to refine. Expect to adjust.
If you are starting out, I would recommend hand carving first, even if you plan to use a Cricut or laser engraver later. Carving teaches you how stamps actually work. You learn what positive and negative space mean in practice, not just in theory. That understanding makes you significantly better at preparing digital files for machine methods.
For anyone ready to try laser engraving, the logo to stamp workflow guide at Stampdesign4u is a practical starting point for getting your design file right before you touch the machine.
Enjoy the process. A slightly imperfect handmade stamp has character that a commercially produced one never will.
— Steven
Ready to create your own custom stamps?
Whether you are making your first carved stamp or ordering a professionally finished rubber stamp for regular use, Stampdesign4u has the products to support your project.

The Trodat 4927 rubber stamp is a popular choice for crafters who want a ready-made, customisable stamp with space for up to nine lines of logo and text across a 60 x 40mm print area. It is a practical option when you want professional results without the production time of a DIY build. Browse the full range at Stampdesign4u for stamp options, inks, and accessories suited to hobbyists and small businesses alike.
FAQ
What is the easiest stamp making method for beginners?
Hand carving is the most accessible starting point. It requires only a carving block and basic gouges, with no software or machines needed.
Do I need to mirror my design before laser engraving a stamp?
Yes. Designs must be mirrored horizontally before laser engraving. Skipping this step produces a reversed image on every print.
How many test prints should I expect to make?
Plan for at least 2–3 test prints across any method. Most DIY stamps need pressure and ink adjustments before producing a clean, consistent result.
Can I use a Cricut machine to make rubber stamps?
Yes. A Cricut Maker or Explore Air 2 with a deep-cut blade cuts rubber and foam stamp sheets accurately, provided you run a calibration test cut first.
What line thickness works best for laser engraved stamps?
Use a minimum line thickness of 0.5mm. Thinner lines clog with ink and fail to transfer clearly onto paper or fabric.