
How to Prepare Stamp Image for Custom Rubber Stamps
Choosing the wrong image can ruin the look of your custom rubber stamp before you even start. Strong, clear artwork is the foundation of a stamp that truly stands out. With over 80 percent of custom stamp mistakes linked to poor image choices or preparation, getting these first steps right saves time and frustration. This guide walks you through every stage, from image selection to final checks, so you can create a crisp, professional stamp that matches your vision.
Table of Contents
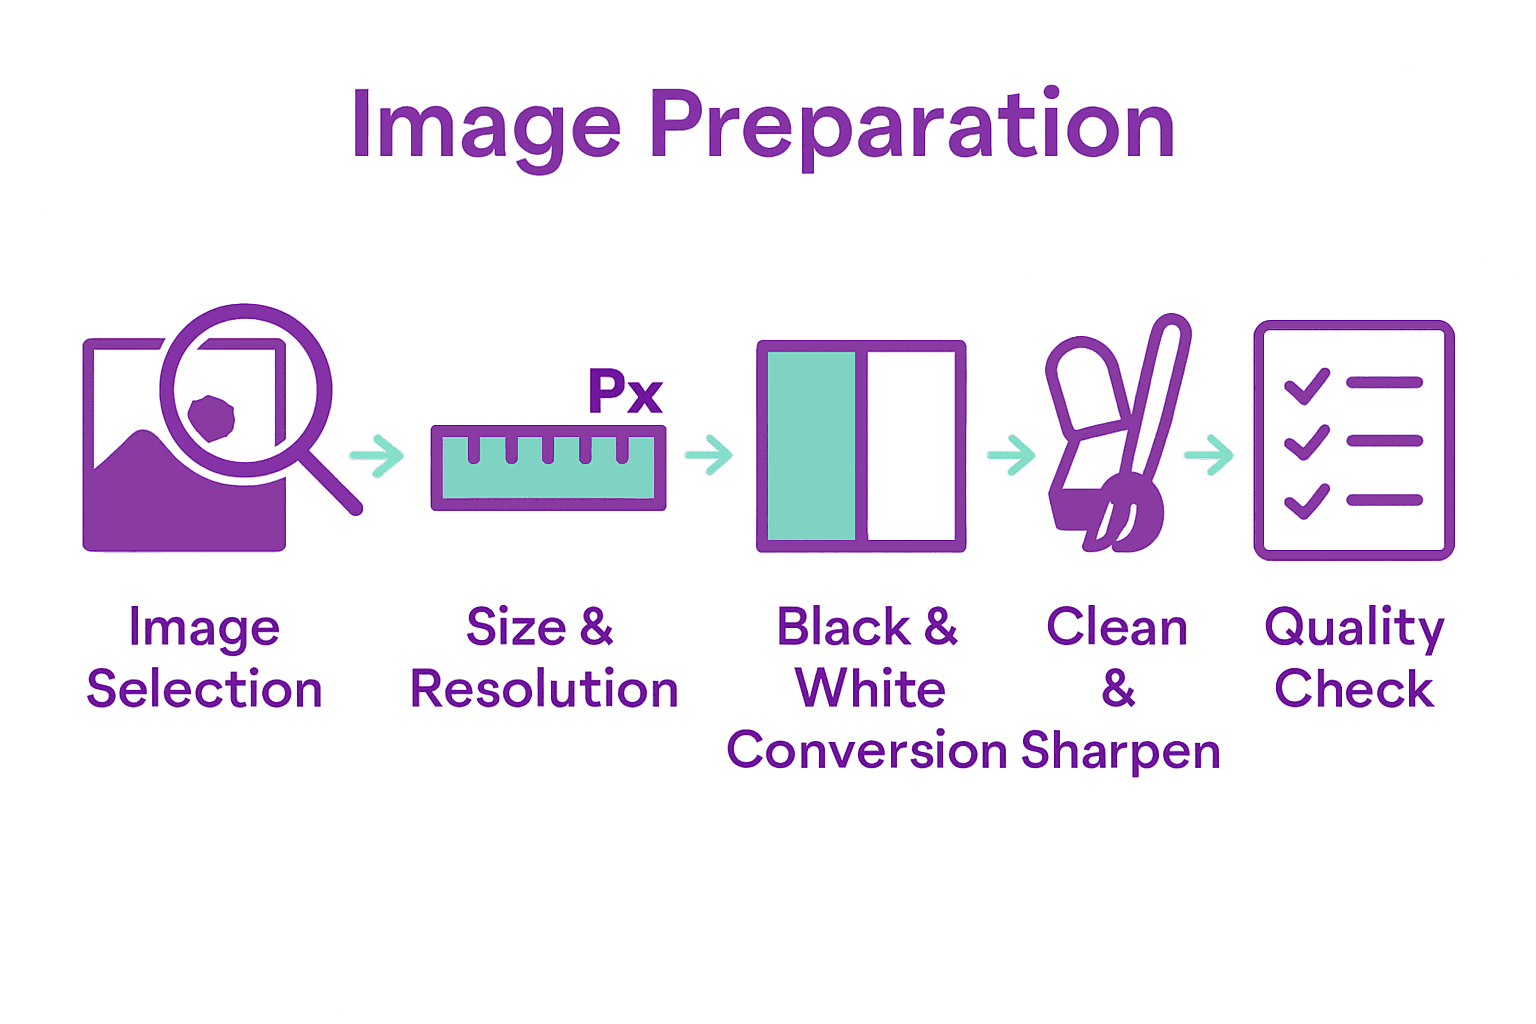
- Step 1: Choose or Create a Suitable Image
- Step 2: Adjust Image Size and Resolution
- Step 3: Convert Image to Black and White
- Step 4: Clean Up and Sharpen the Artwork
- Step 5: Verify Image Quality Before Submission
Quick Summary
| Key Point | Explanation |
|---|---|
| 1. Choose a clear, bold image | Select images with defined lines and strong contrast to ensure clarity when stamped. |
| 2. Maintain high resolution for images | Set your image to at least 300 DPI to prevent blurriness in the final stamp. |
| 3. Convert image to black and white | High contrast graphics enhance clarity; use design software for optimal conversion. |
| 4. Clean and sharpen your artwork | Eliminate noise and ensure crisp edges for better final impressions on the stamp. |
| 5. Verify quality before submission | Conduct thorough checks including test prints at actual size to confirm clarity and detail. |
 |
|
Step 1: Choose or Create a Suitable Image
Selecting the right image is crucial for creating a custom rubber stamp that looks professional and serves its intended purpose. Your chosen image will determine the overall quality and effectiveness of your final stamp design.
Begin by considering the purpose of your stamp. Are you creating a logo stamp for your business, a personalised address stamp, or perhaps a decorative design for crafting? As Involve Kent suggests through their design workshops, the image selection process requires careful thought and planning. Start by choosing an image with clear, defined lines that will translate well into a stamp format.
When preparing your image, keep these key principles in mind: simplicity is king. Complex images with intricate details might not reproduce clearly when stamped. Opt for bold, clean designs with strong contrast between the image and background. If you are designing from scratch, use graphic design software or work with a professional designer who understands stamp image requirements. Alternatively, if using an existing image, consider converting it to black and white or adjusting the contrast to ensure crisp reproduction.
As a helpful tip from Maidstone Hackspace, always test your image at the actual size you plan to use for the stamp. What looks good on a computer screen might not work perfectly when reduced to stamp dimensions. Resize and simplify as needed to guarantee a clear, legible final product.
Once you have your image ready, you are prepared to move on to the next step of preparing it for your custom rubber stamp design.
Step 2: Adjust Image Size and Resolution
Preparing the right image size and resolution is critical for creating a professional looking custom rubber stamp. This step will transform your selected image into a format perfect for stamping.
As Resource Centre recommends in their design guidelines, start by determining the exact dimensions of your final stamp. Typically, rubber stamps range from small address stamps (around 10mm by 40mm) to larger logo stamps (up to 60mm by 90mm). Your chosen software should allow you to precisely resize and crop your image to match these specifications.
When adjusting resolution, aim for a minimum of 300 dots per inch (DPI) to ensure crisp and clear stamp reproduction. Macclesfield Camera Club emphasises the importance of high resolution in printing applications, which directly applies to stamp design. Lower resolution images will appear blurry or pixelated when transferred to rubber.
A practical tip is to work with vector graphics whenever possible. Unlike bitmap images that can become distorted when resized, vector images maintain their sharp edges and clarity regardless of scale. If you are using a photograph or raster image, convert it to black and white and increase the contrast to create clean lines that will translate beautifully to your stamp.
With your image now sized and optimised, you are ready to proceed to the next stage of preparing your custom rubber stamp design.

Step 3: Convert Image to Black and White
Converting your image to black and white is a crucial step in preparing a stamp design that will produce clear and crisp impressions. This process transforms your original image into a high contrast graphic suitable for rubber stamp reproduction.
As Morley College demonstrates in their print technique courses, the key to successful black and white conversion is understanding how different colours translate into grayscale. Most graphic design software offers multiple methods for this conversion. In programmes like Adobe Photoshop or GIMP, you can use the desaturation tool or choose from several black and white conversion modes that allow you to control how different colour tones are interpreted.
When converting your image, pay special attention to the contrast and detail. University of Hertfordshire recommends experimenting with different conversion methods to preserve the most important elements of your design. Some techniques allow you to adjust how individual colour channels are translated ensuring that subtle details are not lost in the conversion process.
A pro tip is to use adjustment layers or non destructive editing techniques. This allows you to fine tune the black and white conversion without permanently altering your original image. Look for options that let you adjust the luminance of specific colour ranges separately this will help you maintain the integrity of your original design while creating a stamp ready graphic.
With your image now converted to black and white you are ready to move forward in preparing your custom rubber stamp design.
Step 4: Clean Up and Sharpen the Artwork
Cleaning up and sharpening your artwork is the final crucial step in preparing a high quality stamp image. This process will transform your basic black and white graphic into a crisp professional design ready for rubber stamp production.
According to University of Hertfordshire, the key to successful artwork refinement involves carefully removing unwanted background noise and enhancing the core design elements. Begin by using your graphic design software’s selection and eraser tools to eliminate any stray pixels or unintended marks. Focus on creating smooth edges and removing any imperfections that might distort your final stamp impression.
As Macclesfield Camera Club recommends in their image preparation guidelines, use sharpening tools judiciously. Most design programmes offer unsharp mask or clarity filters that can enhance your image without introducing digital artifacts. The goal is to create sharp defined lines that will translate perfectly when transferred to rubber.
A professional tip is to zoom in and examine your artwork at 200% to 300% magnification. This allows you to spot and correct minute details that might be invisible at standard view. Pay special attention to the edges of your design ensure they are clean crisp and well defined. If you are working with text make certain each letter is perfectly formed and readable.
With your artwork now cleaned and sharpened you are ready to proceed to the final stages of preparing your custom rubber stamp design.
Step 5: Verify Image Quality Before Submission
Verifying your image quality is the final checkpoint before submitting your design for custom rubber stamp production. This critical step ensures your stamp will look exactly as you intended when transferred to rubber.
As Resource Centre recommends in their template guidelines, conduct a comprehensive visual inspection of your design. Print a test version of your image at actual size to assess its clarity and detail. Compare this printed version against your digital design to confirm that all elements are sharp crisp and easily recognisable.
Macclesfield Camera Club emphasises the importance of checking print size and quality. Examine your image under different lighting conditions to ensure the design remains clear and legible. Pay particular attention to text elements making certain that any words or numbers are completely readable and maintain their intended proportions.
A professional tip is to create multiple test prints at different scales. This will help you verify how your design looks when reduced or slightly enlarged. Check that fine details do not become blurred and that the overall composition remains balanced. If possible ask a colleague or friend to review the design with fresh eyes they might spot imperfections you have overlooked.
With your image thoroughly verified you are now ready to submit your custom rubber stamp design for professional production.
Bring Your Perfect Stamp Image to Life with Ease
Preparing your stamp image with the right size, sharp lines and clear black and white contrast can feel challenging. The detailed process of resizing, converting and cleaning your artwork requires precision to avoid blurry or unreadable stamps. If you want to avoid frustration and ensure your design looks exactly as imagined on your custom rubber stamp, expert help is available.
Experience a seamless transformation from your carefully prepared image to a stunning finished product by exploring the wide range of custom stamp design options at Stamp Design 4 U. Our platform is tailored to guide individuals and businesses through creating personalised stamps with professional quality and clarity.

Take control of your stamping journey today. Visit our landing page to browse versatile styles and sizes that suit your needs. Need advice on finalising your image or want to discuss your project in detail Consult our customer support team and get expert guidance. Your perfect custom rubber stamp is just a few clicks away so start designing with confidence now!
Frequently Asked Questions
How do I choose the right image for my custom rubber stamp?
Selecting an appropriate image is essential for your custom rubber stamp. Start by considering the stamp’s purpose and opt for images with clear, defined lines, preferably in bold, simple designs that will look good when stamped.
What image size and resolution should I use for my stamp design?
Aim for a minimum of 300 DPI for high-resolution designs. Determine your stamp’s final dimensions, such as 10mm by 40mm for address stamps, and resize your image accordingly to ensure clarity.
How do I convert my image to black and white for a stamp?
Use graphic design software to convert your image to black and white, focusing on high contrast to retain detail. Experiment with different conversion methods to preserve essential elements of your design while creating a clear stamp-ready graphic.
What steps should I take to clean up and sharpen my artwork?
Begin by removing any background noise and imperfections using selection and eraser tools in your design software. Zoom in to 200% or 300% magnification to refine the edges and ensure all details are crisp and readable.
How can I verify the quality of my stamp image before submission?
Print a test version of your design at its actual size to check for clarity and legibility. Compare this printed version with your digital file to ensure sharpness, especially for text and fine details.