

A medallion stamp is a round, seal-style rubber or self-inking stamp used for branding packaging, marking mail, or creating an official-looking seal on documents and certificates. It comes in several formats, chiefly self-inking, pre-inked, and traditional handle-mounted rubber, and each works from a single-colour design rather than a full-colour logo. Getting one made well starts with simplifying your artwork before it ever reaches a die.
TL;DR:
- Self-inking stamps are best for high-volume applications, as they automatically re-ink with each press and require no separate pad management.
- Pre-inked stamps excel at fine detail and signatures, producing up to 50,000 impressions but requiring ink refill via liquid addition.
- Traditional rubber stamps suit occasional use with adjustable ink pads, while wax seals offer a handmade look for invitations and artisan packaging.
- Simplify complex artwork to single color, thick lines, and clear layout for optimal results and durability in the stamping process.
- Proper maintenance, including cleaning and correct storage, extends stamp lifespan and ensures consistent, high-quality impressions.
Table of Contents
- Where do businesses and hobbyists actually use a medallion stamp?
- Self-inking, pre-inked, traditional or wax: which type suits you?
- How do you get artwork ready for a medallion stamp?
- Picking the right size, material and ink for your surface
- What happens when you place an order?
- How do you keep a medallion stamp working well?
- Why organisations still choose medallion stamps
- Get your medallion stamp made with Stamp Design 4U
- Sources
Where do businesses and hobbyists actually use a medallion stamp?
Once you have one, the uses tend to multiply. A medallion stamp gives you a fast, repeatable way to mark packaging, mail, and paperwork without printing a new label every time you need one.
The most common applications include:
- Branding packaging and mailers, stamping boxes, tissue paper, or kraft bags with a logo mark instead of ordering pre-printed packaging.
- Return-address stamps, especially for small businesses sending regular post or invoices.
- Loyalty and membership stamps, used by cafés, clubs, and subscription boxes to mark cards or certificates.
- Formal seals, for certificates, diplomas, or membership documents where a circular seal reads as more official than a printed graphic.
For small retailers and craft sellers, a single well-made die can produce thousands of impressions, which works out considerably cheaper over time than reordering pre-printed packaging every time stock runs low. A stamp also beats a printed label when you need flexibility. Event organisers stamping tickets on the day, or clubs issuing membership cards as people join, need something they can apply on demand rather than a batch of labels ordered weeks in advance. If you’re weighing up stamps against other branding tools for your business, it’s worth understanding why custom stamps matter before you commit to a format.
Self-inking, pre-inked, traditional or wax: which type suits you?
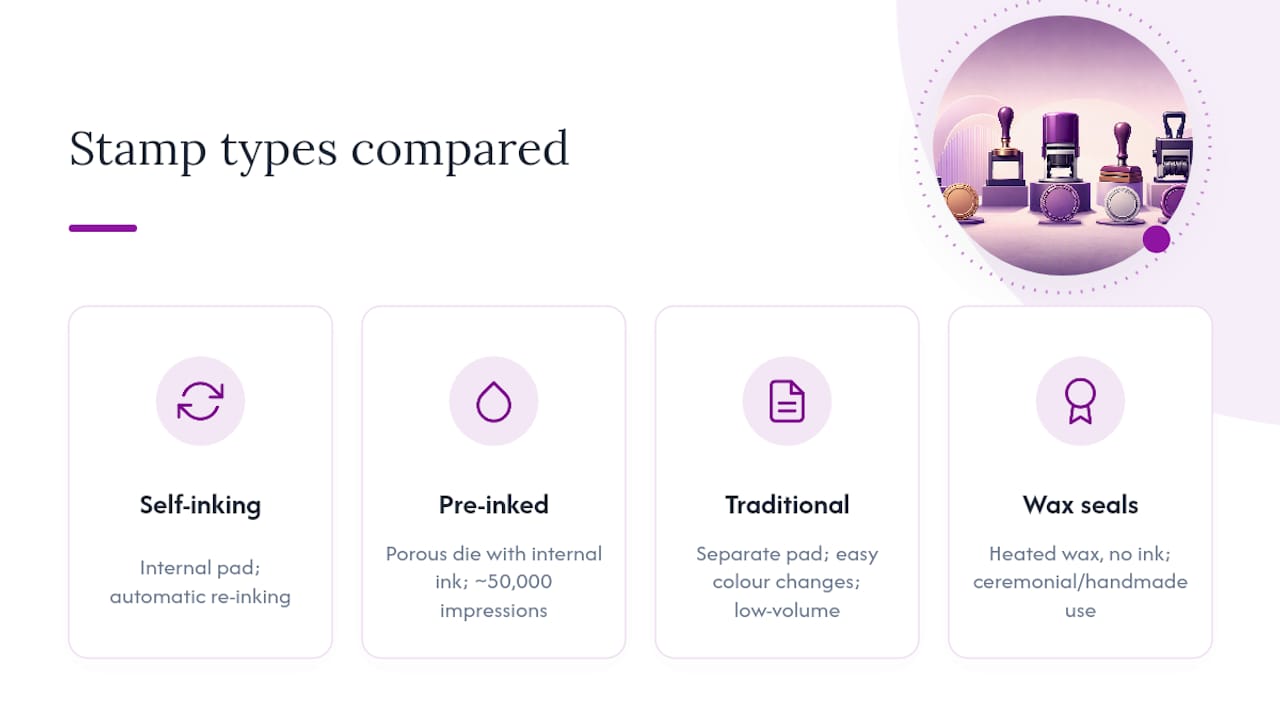
The four main formats behave very differently in daily use, and picking the wrong one is the most common regret among first-time buyers.
Self-inking stamps hold an ink pad inside a spring-loaded mechanism, so each press re-inks the die automatically. They suit high-volume use, such as stamping dozens of envelopes or packages in one sitting, because there’s no separate pad to manage.
Pre-inked stamps use a porous polymer die with ink stored inside the material itself. They’re the better choice for fine detail and signatures, and can produce up to 50,000 impressions before needing a refill. They’re also quieter in operation and give a cleaner, more precise impression than most self-inkers, though replenishing them means adding ink rather than swapping a pad.
Traditional rubber stamps, mounted on a wooden or plastic handle, suit low-volume or occasional use. You control the ink pad separately, which means you can switch colours easily.
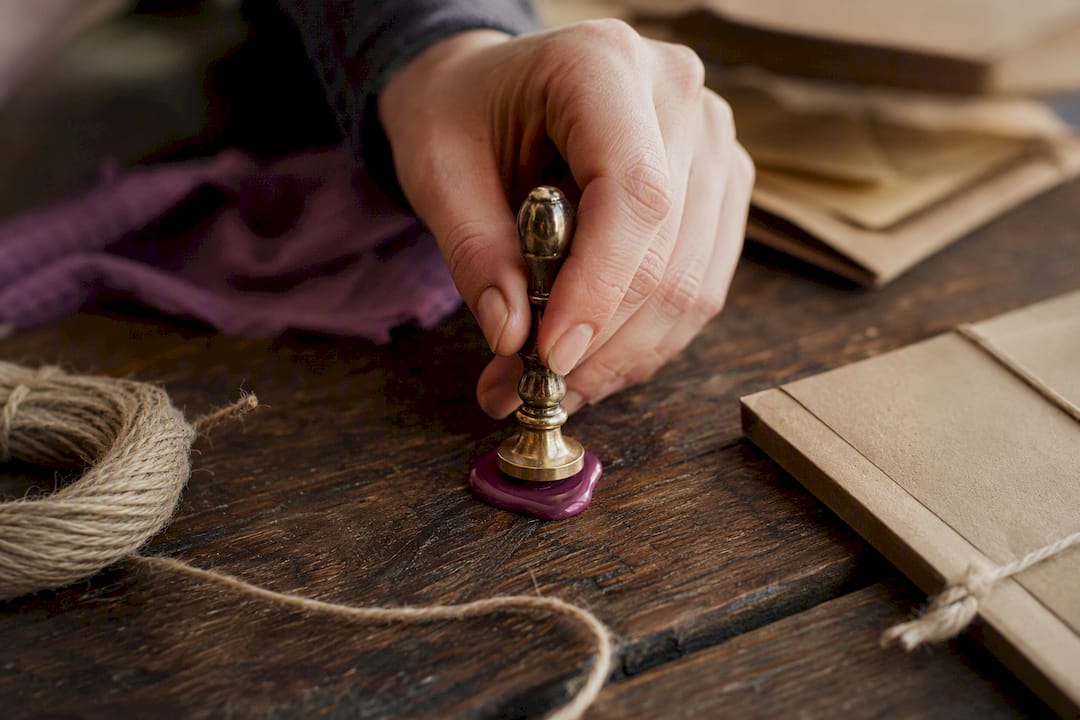
Wax seals are the outlier: no ink, just a heated wax disc pressed with a metal die. They suit invitations, artisan packaging, or anything aiming for a handmade, ceremonial finish rather than a crisp branding mark.
How do you get artwork ready for a medallion stamp?
Most proof delays happen because the original logo file was never designed to be stamped. A full-colour logo with gradients and drop shadows simply doesn’t translate to a single-colour die, so simplifying it first saves you a round of revisions.
- Strip it back to one colour. Remove gradients, shadows, and fine shading. Vector files (SVG or PDF) let the maker scale your design cleanly without pixelation.
- Thicken fragile lines. Anything thinner than roughly 0.25mm at final stamp size risks breaking down during engraving or wearing out fast. Text below about 8 point tends to fill in or vanish entirely once inked.
- Plan the layout around a ring structure. Most circular seals work best with a border ring, primary text following the curve, and a central device or mark in the middle, with separators (dots or small marks) breaking up long text runs.
- Leave breathing room. Cramped elements near the edge blur together on impression. A little clear space around each element keeps the final stamp legible rather than muddy.
- Check the proof at actual size, not zoomed in on a screen, since imbalance in a ring design is often invisible until you see it at true diameter.
Pro Tip: Print your design at the exact stamp diameter on paper and hold it at arm’s length before approving a proof. Problems that look fine on a monitor often become obvious the moment you view them at real size.
Picking the right size, material and ink for your surface
Diameter and material choices depend entirely on what you’re stamping and how much detail your design carries.
Typical diameters follow the job: packaging stamps run 5 to 7.5cm, address stamps sit around 3 to 5cm, and small decorative marks like book plates land near 4.5cm. Larger stamps can carry more detail; smaller ones need simpler artwork to stay legible.
Material affects durability and detail level:
- Rubber dies are affordable and versatile, suited to most branding and packaging work.
- Photopolymer dies hold finer detail and work well for text-heavy designs or small type.
- Pre-inked reservoirs last longest for high-frequency use and give the crispest fine lines.
Ink matters as much as the die. Dye-based ink dries fast on paper but fades on plastic. Pigment ink sits on the surface and works better on non-porous materials like glossy card. Archival ink resists fading for certificates and documents meant to last years, and metallic inks suit premium packaging but need a slightly bolder design to show up clearly. If you’re stamping textured surfaces such as kraft paper or fabric, simplify the design further and increase line weight, since texture eats fine detail that would read perfectly on smooth card.
What happens when you place an order?
Ordering a medallion stamp is straightforward once you know what to specify and what a proof stage actually checks.
- Specify your basics at checkout: diameter, stamp type (self-inking, pre-inked, or traditional), ink colour, and impression orientation.
- Review your proof carefully. Check line weight hasn’t thinned out, spacing between ring text and centre mark looks balanced, and the design is genuinely scaled to your chosen diameter rather than just resized visually.
- Expect production timelines to vary by type. Simple self-inking stamps tend to turn around fastest; pre-inked and custom photopolymer dies with fine detail can take longer.
- Understand what drives price. Size, stamp type, quantity ordered, and any special inks or engraved detailing all push cost up or down. Bulk orders for teams or events usually bring the per-unit price down noticeably.
Reviewing a supplier’s design workflow before ordering helps you understand exactly what the proofing stage will and won’t catch.
How do you keep a medallion stamp working well?
A stamp that’s cared for properly will outlast several cheaper replacements, and most faults trace back to simple neglect rather than a faulty die.
- Clean rubber and photopolymer dies with a damp cloth after use, especially with pigment or metallic inks, which dry harder than dye-based inks.
- Re-ink self-inking stamps when impressions start fading, and replace pre-inked dies once refilling no longer restores sharpness.
- Store stamps flat, away from direct heat or sunlight, which warps rubber and dries ink pads out prematurely.
- Faint or patchy impressions usually mean the pad needs re-inking or the die needs a clean; smeared marks often point to too much ink or a design with elements packed too close together.
Pro Tip: Keep a spare ink pad on hand for self-inking stamps used daily. A five-minute swap beats a week of faded impressions on outgoing mail.
Why organisations still choose medallion stamps
Cost per impression is where medallion stamps win. A single die can outlast thousands of printed labels, and the tactile quality of a pressed seal still reads as more considered than a sticker. Stampdesign4u’s product range and design guides make it straightforward to translate an existing logo into stamp-ready artwork without hiring a separate designer. A small retailer moving from plain boxes to a branded medallion stamp on every parcel is a low-cost upgrade with an outsized effect on how the package feels on arrival.
— Steven
Get your medallion stamp made with Stamp Design 4U
Stamp Design 4U cuts out the guesswork of translating a logo into stamp-ready artwork, offering proofing and simplification support that a generic print shop typically won’t provide. Whether you need a compact loyalty stamp for a café counter or a full medallion seal for packaging, the collection covers most common formats and sizes.
The Personalised Logo Stamps collection is the natural starting point for a medallion-style seal, while the Personalised Packaging Stamps range suits anyone branding boxes or mailers directly. For high-volume, low-fuss stamping, a compact option like the Trodat 4921 14 x 14mm Loyalty Stamp handles repeat use without a fuss, and once your stamp arrives, a replacement stamp pad keeps it performing at full strength. The site’s search function and country selections make it easy to find the right product and shipping option for your location, and support is available if you’re unsure which format fits your artwork. Browse the personalised stamps collection and start a proof today to see your design at actual stamp size before you commit.
Sources
For deeper technical detail on seal layout and vector preparation, see the practical guide to modern stamp-making and the step-by-step custom stamp design guide.
- How to Design a Clear Company Seal | StampDr
- AI Design Seals: A Practical Guide to Modern Stamp-Making (Without the Design Headache)
- The Complete Guide to Custom Rubber Stamps – Stampty