

Start with the stamp model and the ink it uses. A self-inking office stamp, a traditional rubber stamp with a separate pad and a pre-inked stamp need different care. If an impression fades or smudges, check the surface, pad and stamp face before adding ink or using a cleaner.
Identify your stamp before cleaning or re-inking
- Self-inking stamps: a built-in cartridge inks the rubber plate between impressions. Follow the model's instructions for changing the cartridge.
- Traditional hand stamps: you apply ink using a separate pad. Cleaning needs depend on that ink and the stamp material.
- Pre-inked stamps: ink is held in the printing element. Use only the refill ink and procedure specified for that system.
Do not assume that an ink bottle or cartridge fits because it carries the same brand. Check the full model and pad reference. Trodat's manufacturer FAQ explains that cartridge removal differs between models.
Do self-inking stamps need cleaning after every use?
A self-inking stamp does not need a full cleaning routine after every impression. Keep it free of paper fibres and debris, and inspect it when print quality changes. Repeatedly wetting the rubber plate can transfer moisture to the pad and affect the next impression. Follow the manufacturer's care instructions rather than soaking the unit.
Stamp on flat, supported material with even downward pressure. Avoid rocking the stamp or forcing the mechanism. Standard office stamp ink suits absorbent paper and uncoated matt card; glossy or coated materials may smear even when the stamp and pad are working correctly.
What should I check when the print is faint or uneven?
- Try several impressions on plain, uncoated paper on a flat surface. This helps separate a stamp problem from a material problem.
- Check whether a faint area repeats in the same place. Look for debris on the plate or a worn or uneven pad.
- Check that the cartridge is the correct model and is seated according to the manufacturer's instructions.
- If the pad is worn or depleted, fit the matching replacement. If the rubber is damaged or separating, contact us before trying glue or a solvent.
Find the replacement pad for your Trodat stamp
Read the model number on your stamp and compare the reference on the existing cartridge. The table covers common single-colour models; check the full reference and any suffix before ordering, especially for date stamps or two-colour cartridges.
| Stamp model | Replacement pad |
|---|---|
| Trodat Printy 4911 | Trodat 6/4911 replacement ink pad |
| Trodat Printy 4912 | Trodat 6/4912 replacement ink pad |
| Trodat Printy 4913 | Trodat 6/4913 replacement ink pad |
| Trodat Printy 4915 | Trodat 6/4915 replacement ink pad |
| Trodat Printy 4926 | Trodat 6/4926 replacement ink pad |
| Trodat Printy 4927 | Trodat 6/4927 replacement ink pad |
| Trodat Professional 5208 | Trodat 6/58 replacement ink pad |
| Trodat Professional 5211 | Trodat 6/511 replacement ink pad |
| Trodat Professional 5212 | Trodat 6/512 replacement ink pad |
These are replacement ink cartridges, not complete stamps. Similar-looking cartridges are not automatically interchangeable.
A new pad refreshes the ink; it does not change your logo or wording. If your business details have changed, discuss a new personalised stamp or a compatible replacement plate before ordering.
Cleaning a traditional rubber stamp
Follow the ink and stamp manufacturer's instructions. For a compatible water-based ink and rubber stamp, gently remove residue with a suitable cleaner or a lightly damp, lint-free cloth where the manufacturer permits it. Keep water away from the mount and adhesive, avoid soaking wooden handles or complete stamp mechanisms, and let the cleaned plate dry before reuse.
For pigment, solvent-based or specialist inks, check the specified cleaner and material compatibility first. A universal solvent recipe or fixed soaking time is not suitable for every rubber, polymer or pre-inked system. Avoid sharp tools, abrasive scrubbing and household bleach or acetone.
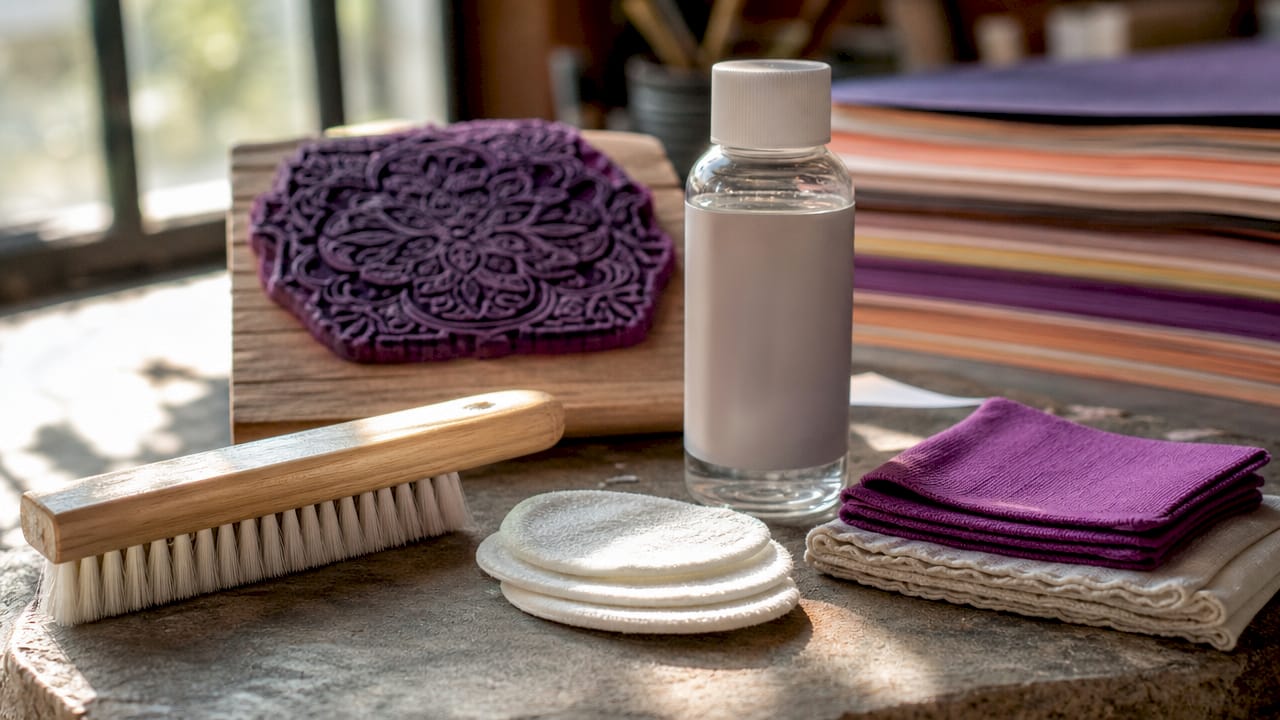
The illustration shows cleaning equipment, not an approved cleaner for every stamp. COLOP provides instructions for its own stamp cleaner; follow the relevant product instructions for your setup.
Storage and ink handling
Store stamps at normal indoor temperatures, away from direct sunlight and heaters. Keep hand-stamp pads closed when not in use. Protect the rubber plate from crushing and avoid placing heavy objects on it. Store self-inking units in their normal resting position unless the manufacturer specifies a transport lock or cover.
Do not pour printer ink, toner or an unidentified refill into a stamp pad. A pre-inked refill and a self-inking cartridge are different systems. If you are unsure what ink is already present, contact us with the stamp model before mixing inks.
Frequently asked questions
Can I restore a faint stamp by pressing harder?
Extra pressure may spread ink or distort the impression. Test on plain paper, check the cartridge and use the matching replacement pad if needed.
Should I clean all colour staining off the rubber?
Staining does not automatically mean the stamp is dirty or damaged. Focus on debris and print quality rather than using increasingly harsh cleaners to make the rubber look new.
Can one replacement pad fit every Trodat stamp?
No. Match the pad reference to the model. For example, a 6/4915 pad is not a substitute for the 6/4926 or 6/4927.
Should I choose a replacement pad by impression size?
No. Impression size is the size of the stamped mark, not the physical dimensions of the ink cartridge. Match the stamp model and pad reference instead.
Can I change the ink colour of a self-inking stamp?
Choose a compatible replacement cartridge in the required available colour. Traces of the previous ink may remain on the rubber plate, so follow the care instructions and test on scrap paper. Fitting a different single-colour cartridge does not create a multicolour impression.
Can I use my office stamp on glossy packaging?
Standard ink may smudge on coated or non-absorbent packaging. Ask about the surface and suitable ink before ordering or refilling.
Help choosing or maintaining your stamp
For a new design, compare sizes and layouts in our logo-stamp buying guide. The Trodat 4915 text stamp suits repeat wording, while the Trodat 4926 text and logo stamp offers a wider combined layout. Call 01695 769113 if you need help identifying a model, replacement pad or suitable care method.