
More than 80 percent of british businesses rely on custom rubber stamps for branding and document processing. Choosing the right stamp and preparing your company logo artwork can make a huge difference in how clean and professional your brand appears. This guide breaks down the step by step process, from artwork preparation to flawless application, so your british business creates a sharp and lasting impression every time.
Table of Contents
- Step 1: Prepare Your Company Logo Artwork For Stamping
- Step 2: Select The Ideal Rubber Stamp Size And Type
- Step 3: Customise And Order Your Logo Stamp Online
- Step 4: Verify Stamp Impression Quality And Clarity
- Step 5: Apply Your Company Logo Stamp Professionally
Quick Summary
| Important Insight | Explanation |
|---|---|
| 1. Use High-Quality Artwork | Select high resolution logo files in vector format to ensure clarity when stamped. Avoid low-quality images to prevent poor impressions. |
| 2. Choose Appropriate Stamp Size | Measure the area where the stamp will be used and select a size that fits without overwhelming the document. Large enough for details is key. |
| 3. Customise Effectively Online | Upload your logo, check the preview, and adjust as necessary before finalising your order to ensure the final product meets your expectations. |
| 4. Verify Impression Quality | Test the stamp on different surfaces to ensure clear, sharp impressions. Address any issues with the manufacturer promptly. |
| 5. Apply with Care | Position the stamp carefully on documents, use consistent pressure, and keep it clean to maintain a professional appearance. |
Step 1: Prepare your company logo artwork for stamping
Preparing your company logo artwork for a custom rubber stamp requires careful attention to detail and understanding of design specifications. The goal is to create a clean, sharp image that will translate perfectly when transferred onto paper or other surfaces.
Start by selecting a high resolution digital version of your logo that is crisp and clear. Ideally, you want a vector graphic format like .svg or .eps which allows for scalability without losing image quality. If you only have a raster image like .png or .jpeg, ensure it has at least 300 dpi resolution to maintain sharp details when resized. Custom logo stamp preparation techniques recommend converting your image to black and white or high contrast designs to optimise stamp definition.
When designing your logo for stamping, simplify complex elements and remove intricate details that might not translate well at smaller sizes. Text should be large enough to read clearly, typically using bold fonts that maintain legibility. Avoid extremely thin lines or overly elaborate graphics that could blur or break during the stamping process. A good rule of thumb is to test your logo design at multiple sizes to confirm it remains recognisable and professional looking.
Warning: Low quality artwork can result in poor stamp impressions. Always work with the highest quality graphic files available to ensure your company logo looks crisp and professional when stamped.
Step 2: Select the ideal rubber stamp size and type
Selecting the right rubber stamp requires careful consideration of your specific business needs and intended usage. The size and type of stamp you choose can significantly impact your professional branding and document processing efficiency.
When determining stamp dimensions, consider the typical documents you will be marking and the amount of information you need to include. Business stamp selection strategies recommend measuring the average space where you will apply the stamp to ensure a perfect fit. For most office applications, rectangular stamps ranging from 38mm to 70mm work well, providing ample space for logos, addresses, and essential text without overwhelming the document.
Rubber stamps come in several primary types, each serving different purposes. Self inking stamps offer convenience and consistent impressions, making them ideal for high volume tasks. Traditional handle stamps provide more flexibility for occasional use, while digital stamps suit organisations with complex or frequently changing information. Consider your workflow frequency and precision requirements when making your selection.
Warning: Choosing an inappropriately sized stamp can lead to messy, unprofessional document markings. Always test your selected stamp size on sample documents to confirm it meets your specific operational needs.
Step 3: Customise and order your logo stamp online
Customising and ordering your logo stamp online requires a strategic approach to ensure you receive a high quality product that precisely matches your professional branding requirements. This process involves selecting the right design platform, uploading your prepared artwork, and finalising your stamp specifications.
Online custom stamp ordering strategies recommend beginning by carefully uploading your prepared logo file to the stamp design interface. Most online platforms will provide real time previews, allowing you to adjust the size, position, and orientation of your logo before finalising your order. Pay close attention to the preview screen, ensuring your logo appears crisp and centred exactly as you want it to appear on the final stamp.
When customising your stamp, consider additional features that might enhance its functionality. Some online services offer options like choosing stamp colours, selecting different mounting styles, or adding supplementary text such as company name or contact information. Select a mounting style that suits your intended use whether for desk stamping, mobile applications, or specific document processing needs. Most platforms will provide clear pricing information and estimated delivery times during the customisation process.
Warning: Always review your design thoroughly before submitting the final order. A moment of careful checking can prevent potential costly reprints or unsatisfactory stamp productions that do not meet your professional standards.
Step 4: Verify stamp impression quality and clarity
Verifying your logo stamp’s impression quality is a critical final step that ensures your professional branding meets the highest standards of precision and clarity. This process involves carefully testing the stamp on multiple surfaces to confirm the integrity of your design and ink transfer.
Logo stamp creation techniques recommend beginning with clean white paper and testing your stamp using moderate pressure to assess the impression quality. Examine the stamped image closely, checking for complete ink coverage, sharp edges, and consistent logo definition. Pay particular attention to fine details such as text legibility and logo border crispness. Try stamping on different paper types including standard office paper, glossy surfaces, and textured documents to understand how your stamp performs across various materials.
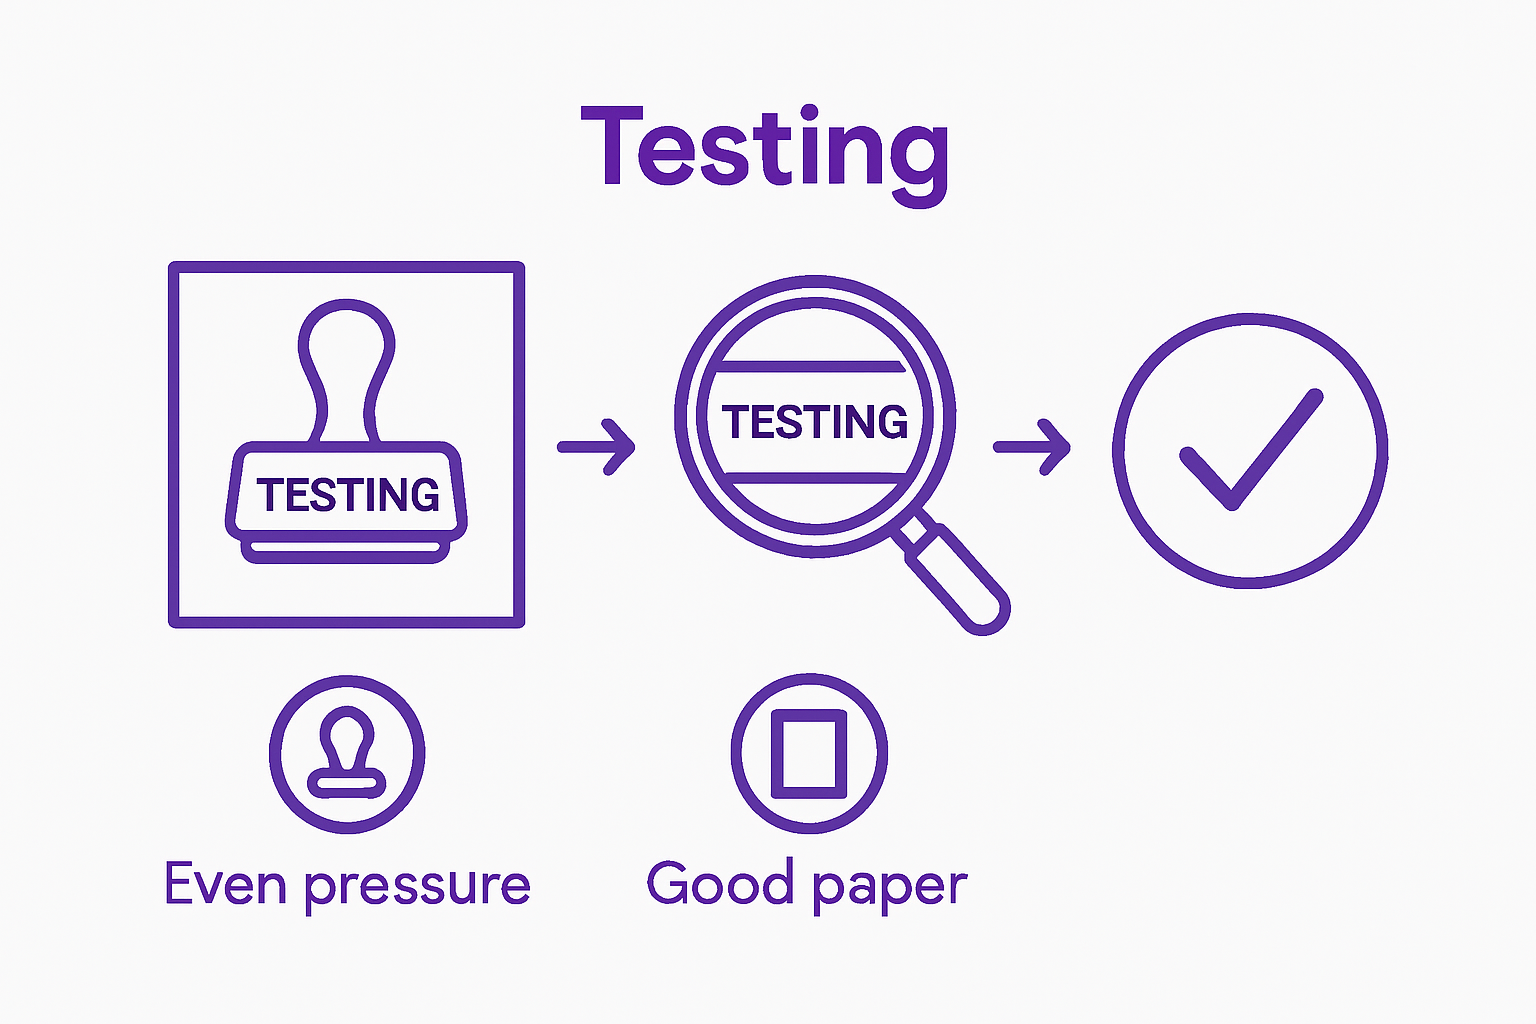
Carefully inspect the stamp impression from multiple angles and lighting conditions. Look for any areas of incomplete ink transfer, blurring, or uneven pressure that might compromise your professional image. If you notice any imperfections, contact the stamp manufacturer for potential adjustments or replacement. Some minor variations are normal, but significant quality issues should be addressed immediately.
Warning: A single poor quality stamp impression can undermine your professional credibility. Always conduct thorough testing before using your logo stamp in official documents or branded materials.
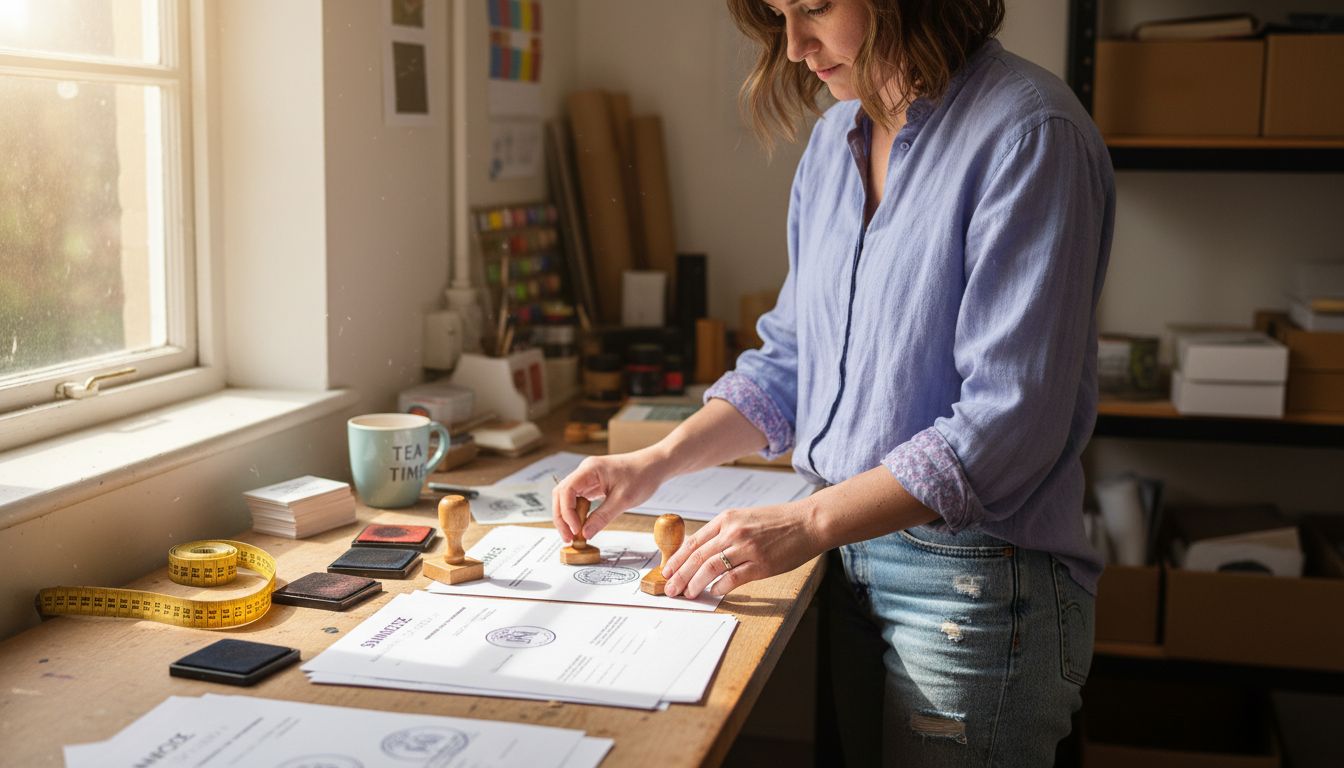
Step 5: Apply your company logo stamp professionally
Applying your company logo stamp professionally requires precision, consistency, and strategic placement to maximise its impact on documents and branding materials. Understanding the nuanced techniques of stamp application will help you maintain a polished and consistent professional image.
Custom logo branding strategies suggest positioning your stamp in a clean uncluttered area of the document where it will be clearly visible without obscuring critical information. Always ensure your document is flat and smooth before stamping, using consistent moderate pressure to achieve an even ink transfer. Hold the stamp vertically and press straight down to prevent smudging or partial impressions that could appear unprofessional.
Practise your stamping technique on scrap paper to develop muscle memory and understand the precise pressure required for optimal results. Different paper types may require slight adjustments in technique. For official documents, consider using a stamp positioning guide or alignment tool to maintain uniform placement. Keep your stamp clean between uses by gently wiping the rubber surface with a lint free cloth to prevent ink build up and maintain crisp impressions.
Warning: Inconsistent or careless stamping can diminish your professional credibility. Always take time to align and apply your logo stamp with deliberate care and attention to detail.
Elevate Your Brand with a Perfect Company Logo Stamp
Creating a company logo stamp that truly represents your business requires precision in design, the right choice of size and type, and flawless application. This article highlights common challenges such as preparing high-quality artwork, selecting the ideal stamp dimensions, and ensuring clear impressions that maintain your professionalism. If you have ever struggled with unclear stamp images or unsure about how to customise your logo stamp effectively, you are not alone. Businesses often seek solutions that simplify this process while guaranteeing crisp, consistent results every time.
At Stampdesign4u, we understand these exact needs and offer an intuitive online platform where you can easily upload your high-resolution logo, choose from multiple stamp types and sizes, and preview your custom design in real time. Whether you are a small business aiming for polished branding or an organisation needing reliable document marking, our comprehensive customisation tools combined with expert support create a seamless experience. Discover why so many clients worldwide trust our service for their professional stamping needs.

Stop guessing about your next logo stamp and get it right the first time. Visit our homepage now to explore flexible custom stamp options, upload your artwork, and place your order with confidence. Start stamping your success story today with Stampdesign4u.
Popular Logo Stamps:-
Our 25mm x 25mm stamp is a popular choice for people wanting a smaller simple stamp impression.

Or for a larger round stamp, we have the 42mm Trodat 4642 Stamp
![]()
And for the more premium feel, with a huge 116mm x 70mm imprint size, we have the Professional Range with the Trodat 5212.
![]()
FOR A FULL RANGE OF LOGO STAMPS CLICK HERE
FOR A FULL RANGE OF LOGO AND TEXT STAMPS CLICK HERE
Frequently Asked Questions
How do I prepare my company logo artwork for a stamp?
To prepare your company logo artwork for a stamp, select a high-resolution version of your logo in a vector format like .svg or .eps. Simplify complex elements, ensure text is bold and clear, and use black and white or high contrast designs for optimal definition.
What size and type of rubber stamp should I choose for my business?
Choose a stamp size that fits the documents you will be marking, typically rectangular stamps between 38mm to 70mm work well. Consider the type of stamp, such as self-inking for high volumes or traditional handle stamps for occasional use, based on your business needs.
How can I customise and order my logo stamp online?
Customise your logo stamp online by uploading your artwork to a design platform, adjusting the size and position, and selecting any additional features like colours or text. Carefully review the real-time preview to ensure the final product matches your branding before placing your order.
What steps should I take to verify the quality of my stamp impression?
To verify your stamp’s impression quality, test it on clean white paper, checking for complete ink coverage and sharp details. Examine the stamp on different types of paper, and contact the manufacturer if you find significant issues, ensuring your branding appears professional.
How can I apply my logo stamp effectively on documents?
Apply your logo stamp effectively by positioning it in a clear area of the document and using moderate pressure for an even impression. Practise your technique on scrap paper to develop consistency before using the stamp on official documents, ensuring a polished presentation.
What should I do if I notice inconsistencies in my stamped impressions?
If you notice inconsistencies in your stamped impressions, check your technique and ensure the stamp is clean. Conduct additional tests on different paper types; if issues persist, contact the manufacturer for adjustments or a possible replacement to maintain professional quality.
Recommended
- Step-by-Step Guide to Logo Stamp Creation for Beginners – Stamp Design 4U
- Boost Your Branding: Custom Logo Stamps For Businesses – Stamp Design 4U
- Custom Logo Branded Rubber Stamps – Stamp Design 4U
- Custom Logo Stamps: Why They Matter for your Brand Identity – Stamp Design 4U
- Create Custom Embroidered Leather Jackets Step by Step - Maker of Jacket